Eaton Power recently approached us to demonstrate how their uninterruptible power supply (UPS) units work with home lab enthusiasts in mind. We opted to show how a simple Raspberry Pi can be used as a dedicated management card for an Eaton TrippLite Smart 1500RM2U UPS, paired with the work from the Network UPS Tools project. NUT Software is widely compatible with a range of UPSs, several thousand are supported.
Eaton Power recently approached us to demonstrate how their uninterruptible power supply (UPS) units work with home lab enthusiasts in mind. We opted to show how a simple Raspberry Pi can be used as a dedicated management card for an Eaton TrippLite Smart 1500RM2U UPS, paired with the work from the Network UPS Tools project. NUT Software is widely compatible with a range of UPSs, several thousand are supported.
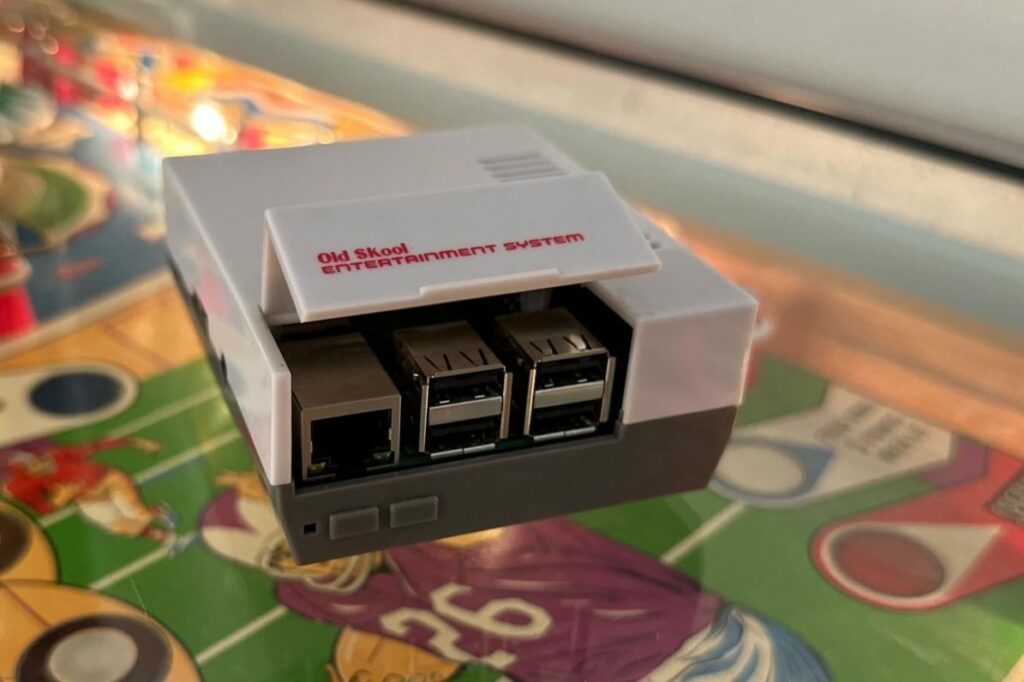
NUT Software Components
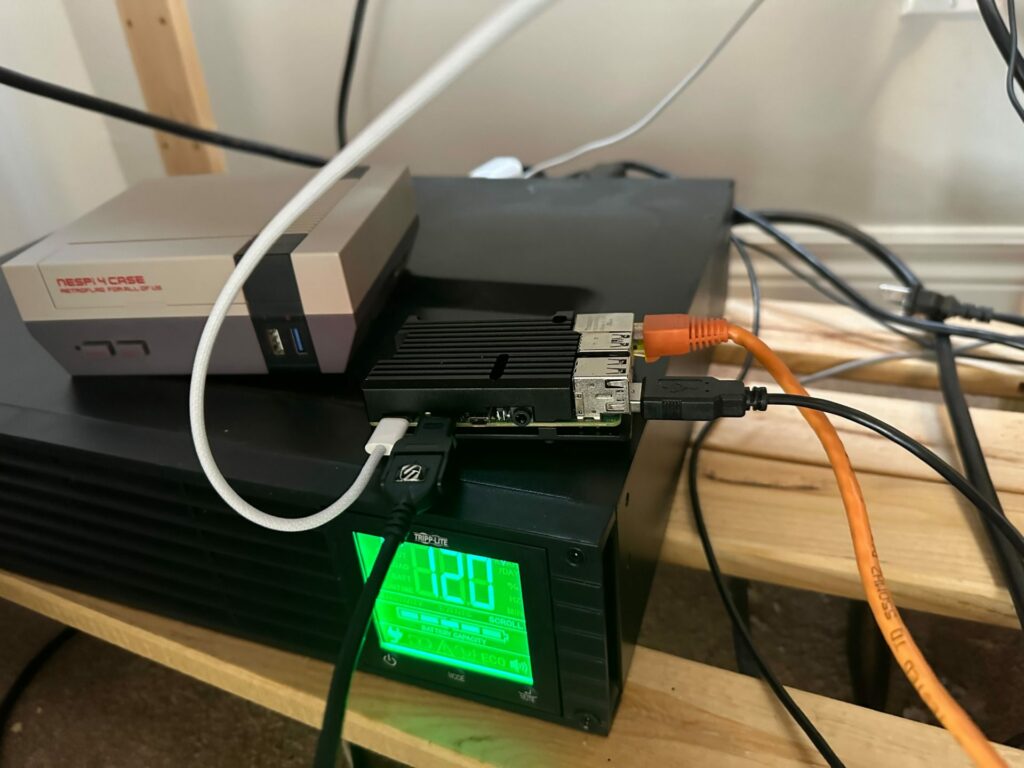
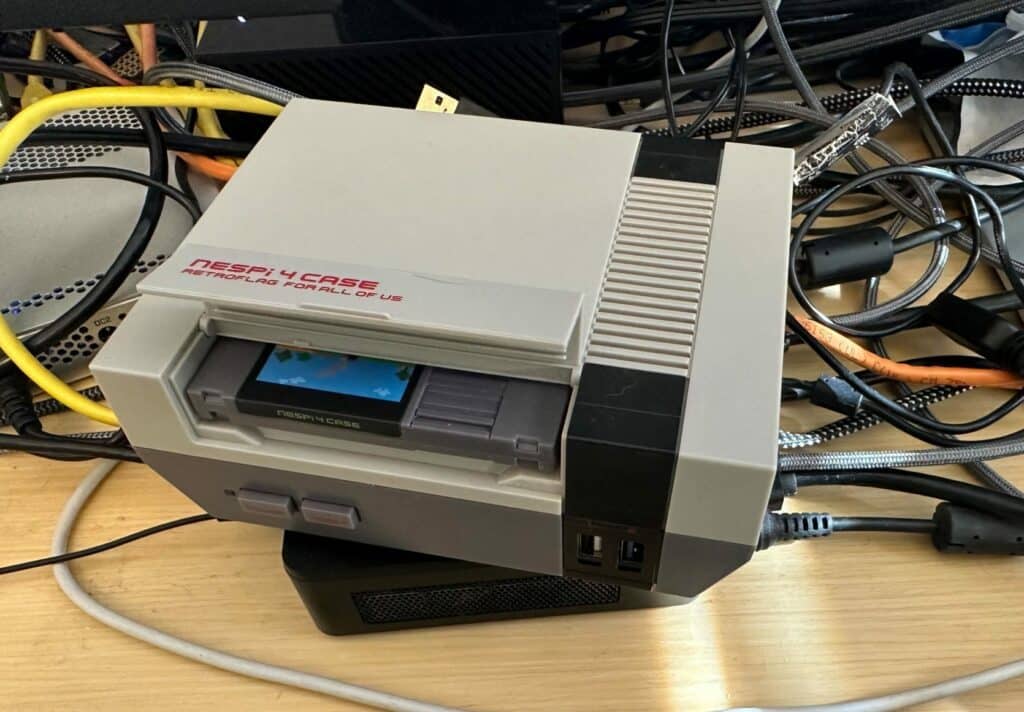
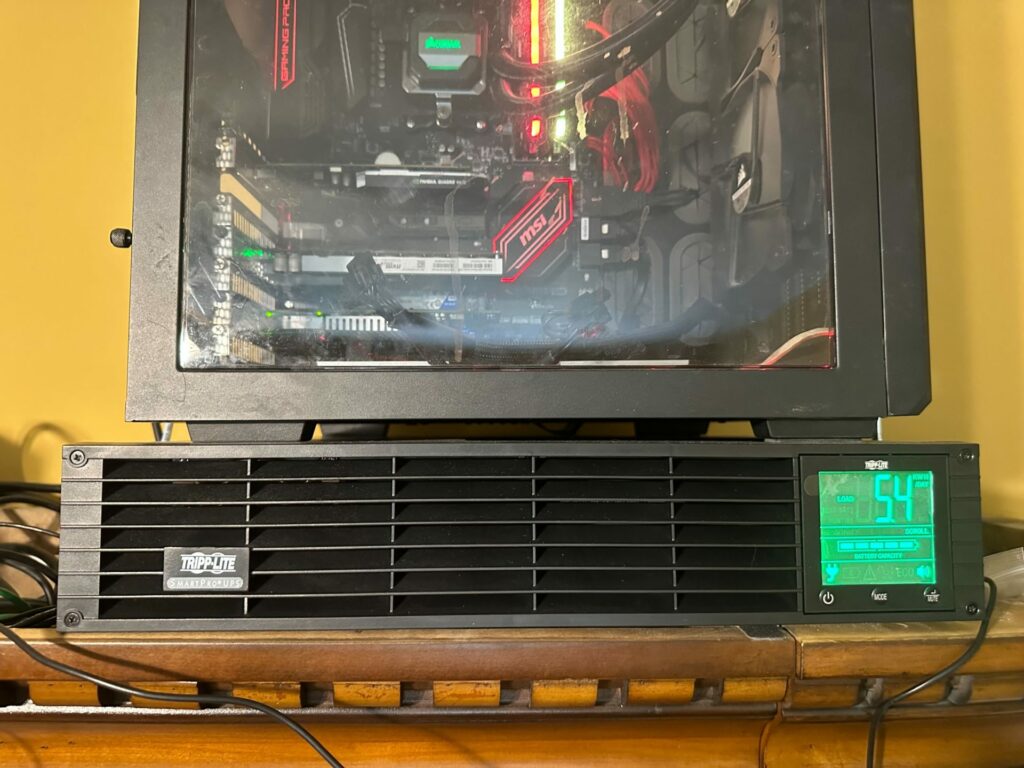
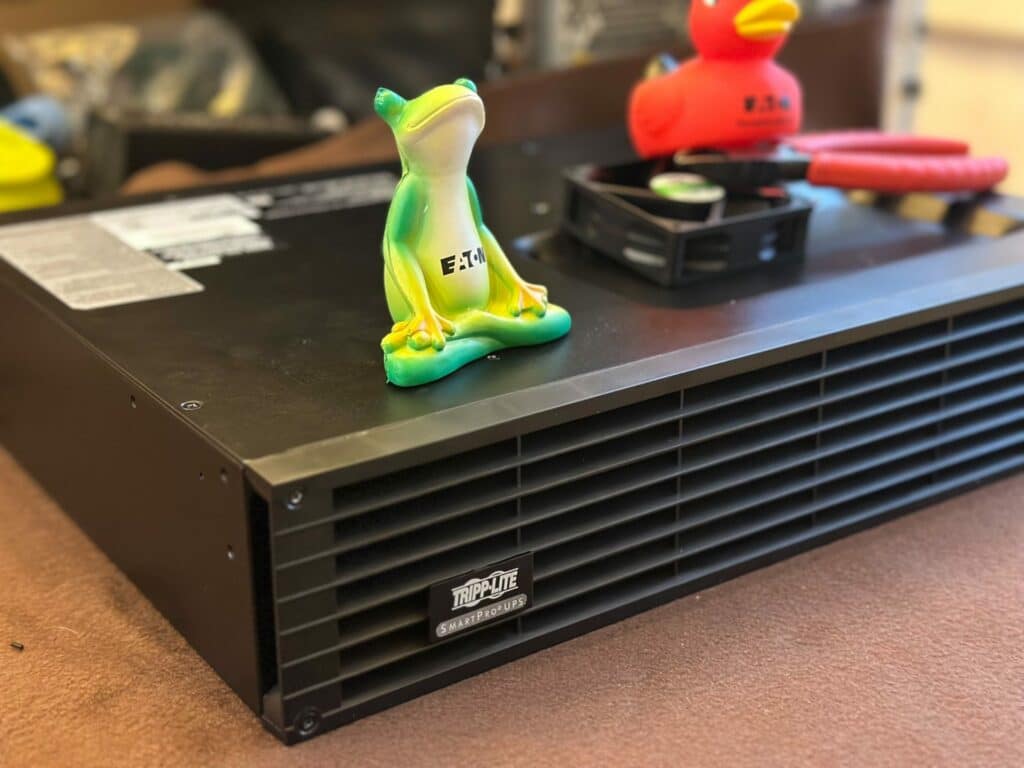
Our test environment is very simple, just a UPS and a Pi:
Essential Components for Raspberry Pi SBC:
- Pi board (4B 4GB recommended)
- MicroSD card (32 GB of premium quality)
- Case for the Pi
- USB-C Power Adapter (3.5A)
- Micro-HDMI to HDMI cable
- MicroSD card reader to program the OS
- Kits containing these components can be found online, such as the CanaKit.
NUT Software Setup
For this build, we chose Ubuntu Server (https://ubuntu.com/download/server/arm), a stable and reliable option with a strong community. Alternatively, you could use the Raspberry Pi OS (https://www.raspberrypi.com/software/operating-systems/).
To set up your server, follow these steps:
- Download the Ubuntu image for IoT 22.04.2 LTS
- Flash the SD card with the image using Etcher by Balena.
- Assemble your Raspberry Pi and connect the necessary peripherals (keyboard, mouse, and video).
- Insert the SD card into the Pi and attach power.
- Boot the OS and follow the on-screen instructions to set up your server.
Once your server is set up, it’s time to install and configure the Network UPS Tools (NUT) protocol. Follow the detailed instructions provided in this article, which include:
- Updating and upgrading your system:
sudo apt-get update

sudo apt-get upgrade
- Installing NUT:
sudo apt-get install nut
- Adding your user to the NUT group:
sudo usermod -aG nut <your_username>
- Configuring the UPS:
sudo nano /etc/nut/ups.conf
Add the following to the end of the file:
[smart1500rm2u]

driver = usbhid-ups

port = auto

desc = "Tripp Lite SMART1500RM2U"
Save and close the file with CTRL-X.
- Configuring the NUT server:
sudo nano /etc/nut/upsd.conf
Change from 127.0.0.1 to 0.0.0.0 to listen to all connections:
LISTEN 0.0.0.0 3493
Save and exit.
- Configuring NUT server access:
sudo nano /etc/nut/upsd.users
Add the following lines, replacing <your_password> with your actual password:
[]
password = <your_password>
upsmon master
- Configuring the UPS monitor:
sudo nano /etc/nut/upsmon.conf
Place the following at the bottom of the file:
RUN_AS_USER root

MONITOR smart1500rm2u@localhost 1 <your_username> <your_password> master
Save and exit.
- Enabling and starting the services on boot:
sudo systemctl enable nut-server.service

sudo systemctl enable nut-monitor.service
- Rebooting and verifying the UPS status:
sudo reboot
After reboot, login and verify the UPS status:
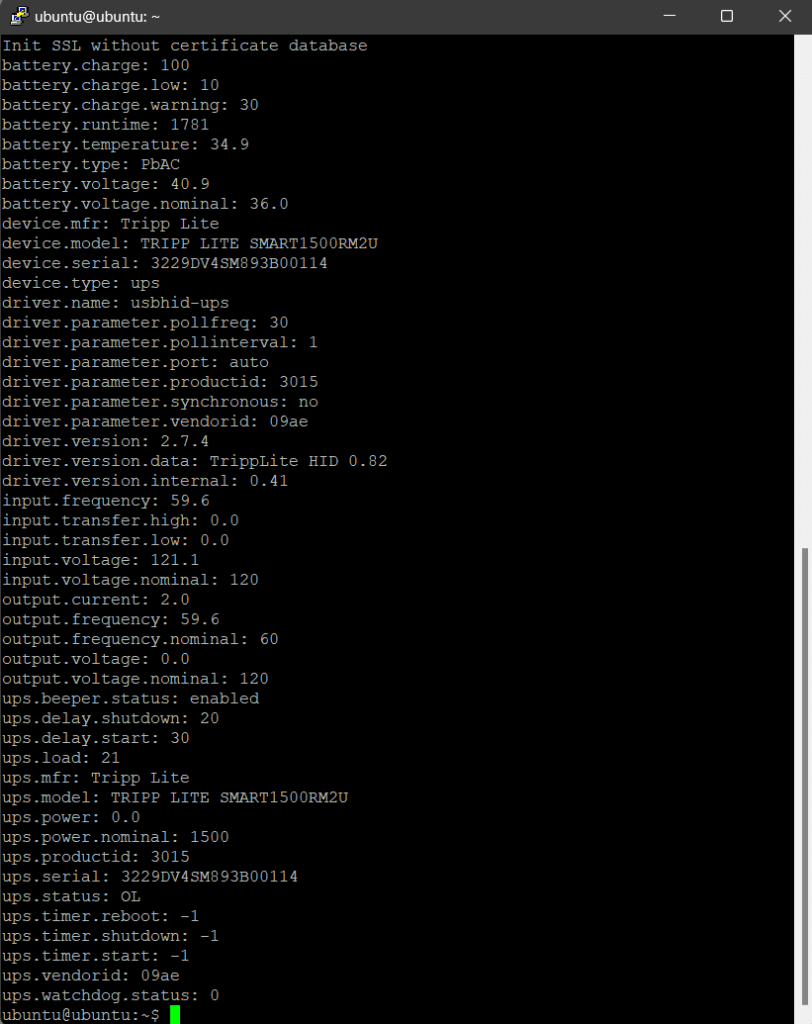
upsc smart1500rm2u@localhost
You should see all the details of your UPS listed.
Keep in mind, there are many ways to accomplish setting up NUT. Having shown you a down-in-the-weeds approach here, it is good to note that many NAS providers (Looking at you IX Systems – TrueNAS) build NUT right into the GUI with config options that make deployments by home-labbers or some brave SMB users, relatively painless.
There are other options like DZOMAYA’s script that automates the setup – https://github.com/dzomaya/NUTandRpi
Or even a more enterprise solution (Beyond the scope here) is a dedicated management card that will manage a compatible UPS with hardware that is designed for 24x7x365 operation – https://tripplite.eaton.com/web-management-accessory-card~WEBCARDLX
There are several clients available to monitor UPS activity. GAWINDX WinNUT-Client has worked well for us.
Conclusion
In a nutshell, the NUT software package is a big step forward in how UPSs report status and events. Our testing with some of the legacy EATON hardware (https://networkupstools.org/ddl/Eaton/), we were pleased to see that nearly the entire range of hardware offerings has the ability to integrate into monitoring and management systems with any number of DIY or homegrown solutions. For those who want more visibility into their UPS, NUT is definitely worth setting up a server and getting connected.
Engage with StorageReview
Newsletter | YouTube | Podcast iTunes/Spotify | Instagram | Twitter | TikTok | Discord | RSS Feed

