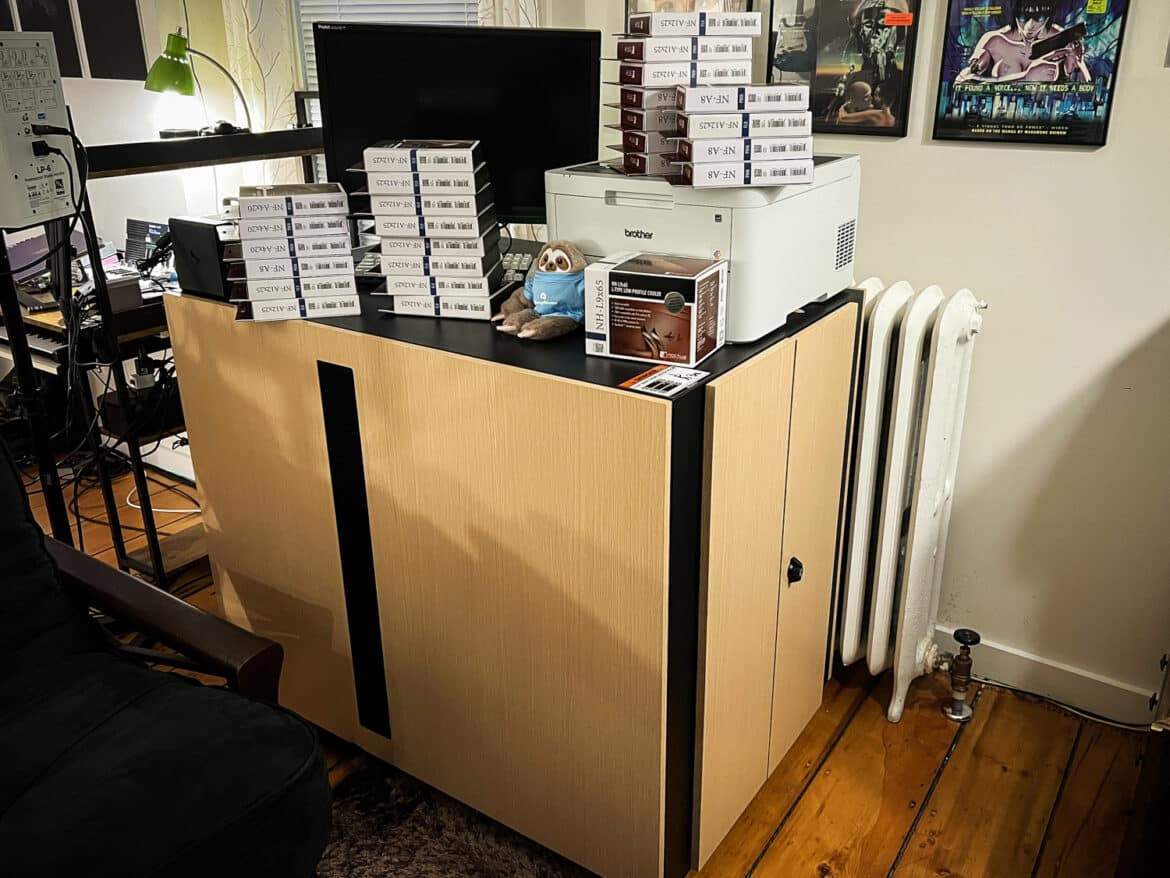
I recently moved into a new apartment, and a consequence was the need to put my server rack in my living room, which is also my video editing bay and recording studio. I needed a rack enclosure that was really, really quiet. Step one of this project started when our friends at Eaton sent me their 18U SmartRack Sound-Proof Rack Enclosure, part of their TrippLite series of enclosures.
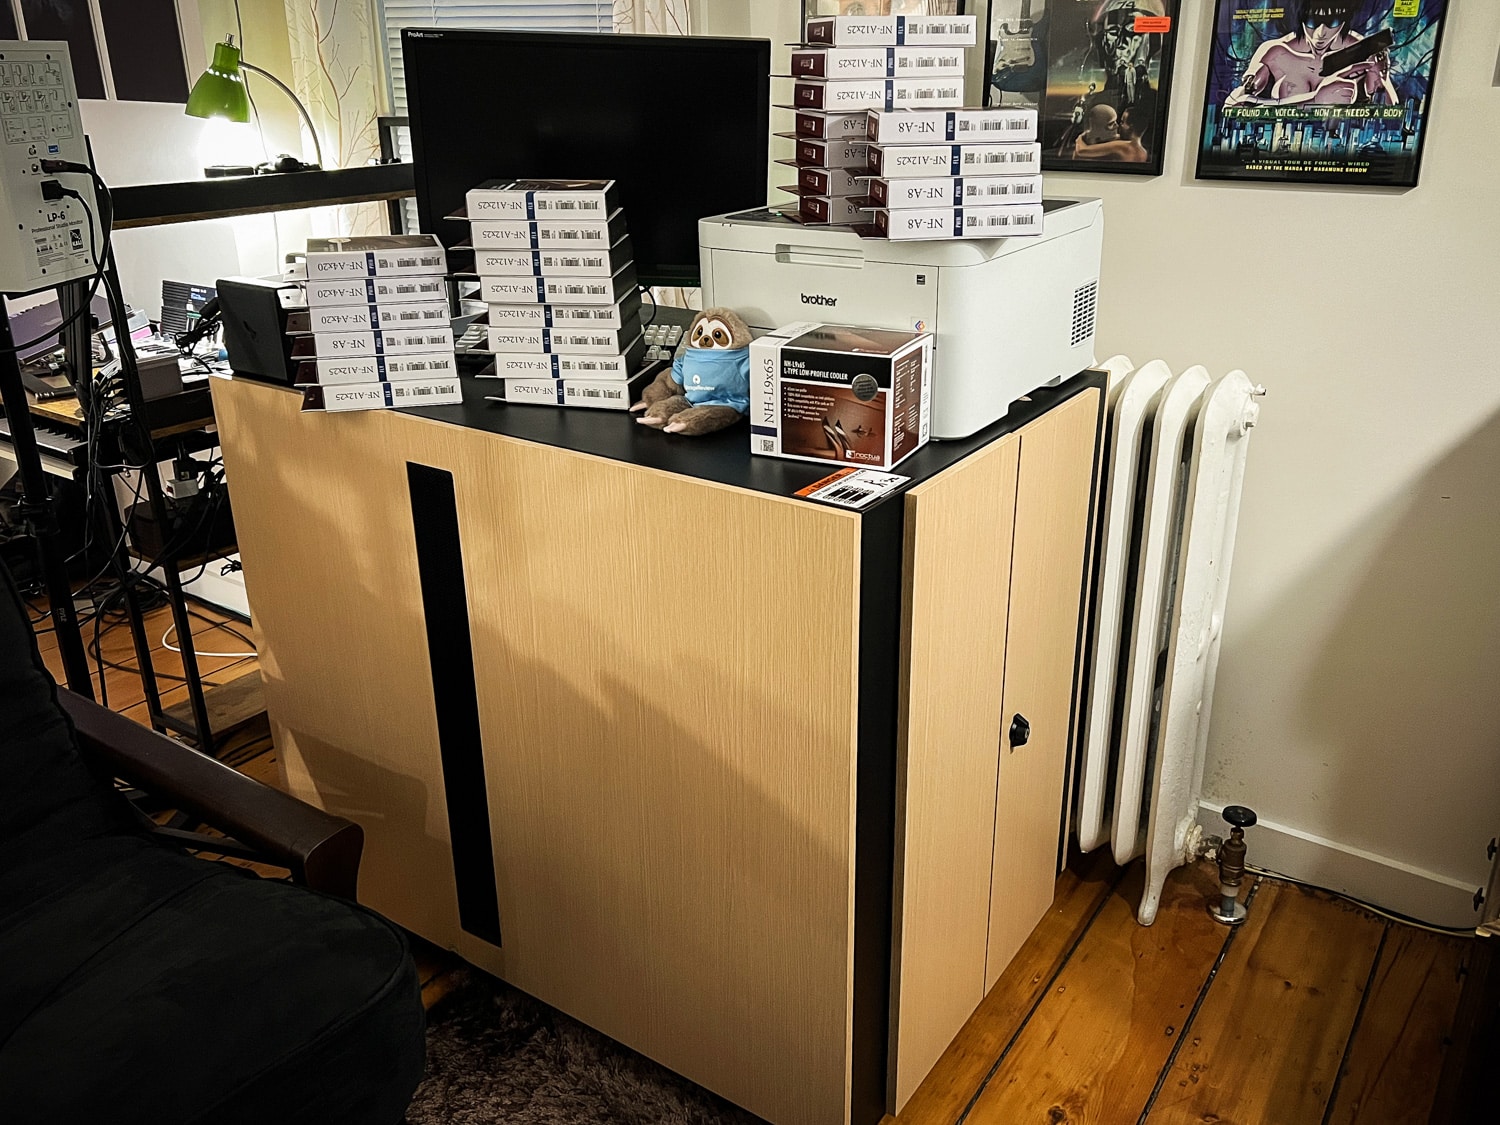
I recently moved into a new apartment, and a consequence was the need to put my server rack in my living room, which is also my video editing bay and recording studio. I needed a rack enclosure that was really, really quiet. Step one of this project started when our friends at Eaton sent me their 18U SmartRack Sound-Proof Rack Enclosure, part of their TrippLite series of enclosures. This did wonders to alleviate much of the noise, especially compared to the open-air rack it replaced. But it wasn’t enough; I needed more.
Step two of this project began when our friends at Noctua sent me a smorgasbord of fans, not just for the enclosure itself but for most of the equipment inside, too. Did I go overboard? Probably, but all I needed to do was look at the pudding because the proof was there. Here’s a list of the fans they sent and some top-level specs:
| Noctua Fan Model | Size | Connector | RPM | dB(A) |
| NF-A12x25 FLX | 120mm | 3-pin | 2000 | 22.6 |
| NF-A12x25 PWM | 120mm | 4-pin | 2000 | 22.6 |
| NF-A8 PWM | 80mm | 4-pin | 2200 | 17.7 |
| NF-A8 FLX | 80mm | 3-pin | 2000 | 16.1 |
| NF-A4x20 PWM | 40mm | 4-pin | 5000 | 14.9 |
| NH-L9x65 (CPU Cooler) | 92mm | 4-pin | 2400 | 23.6 |
A Bit About Noctua
I’m imagining that everyone reading this has heard of Noctua. Even if you haven’t, here are some fun facts! Noctua launched in 2005 with the explicit intent to create high-quality, silent cooling components. They started with their iconic brown-on-brown fans, and while that’s still their bread and butter, they’ve expanded their product line over the years.
 Photo by Arturo Nikolai from Galicia, Spain – Flickr
Noctua now offers thermal compound, CPU coolers for enthusiast and enterprise applications, fan hubs, and partnerships across the industry for special Noctua edition products such as GPUs, keycaps, and even screwdrivers. There are fans for industrial applications with ingress protection. A significant change for Noctua was finally relenting and offering their fans in black! Heresy, I know.
At the risk of falling too deeply down this rabbit hole, the final fun fact is that the name Noctua comes from the binomial name of the owl of Athena. They are also known as the little owl, a species native to the temperate regions of North Africa and Eurasia, and named by an Austrian naturalist. Noctua is an Austrian company, and this explains the logo. Neat!
Methodology
The methodology is simple: Replace as many fans with Noctua ones as possible. Overall, it was a success, but let’s walk through everything I did, from the least to the most effective.
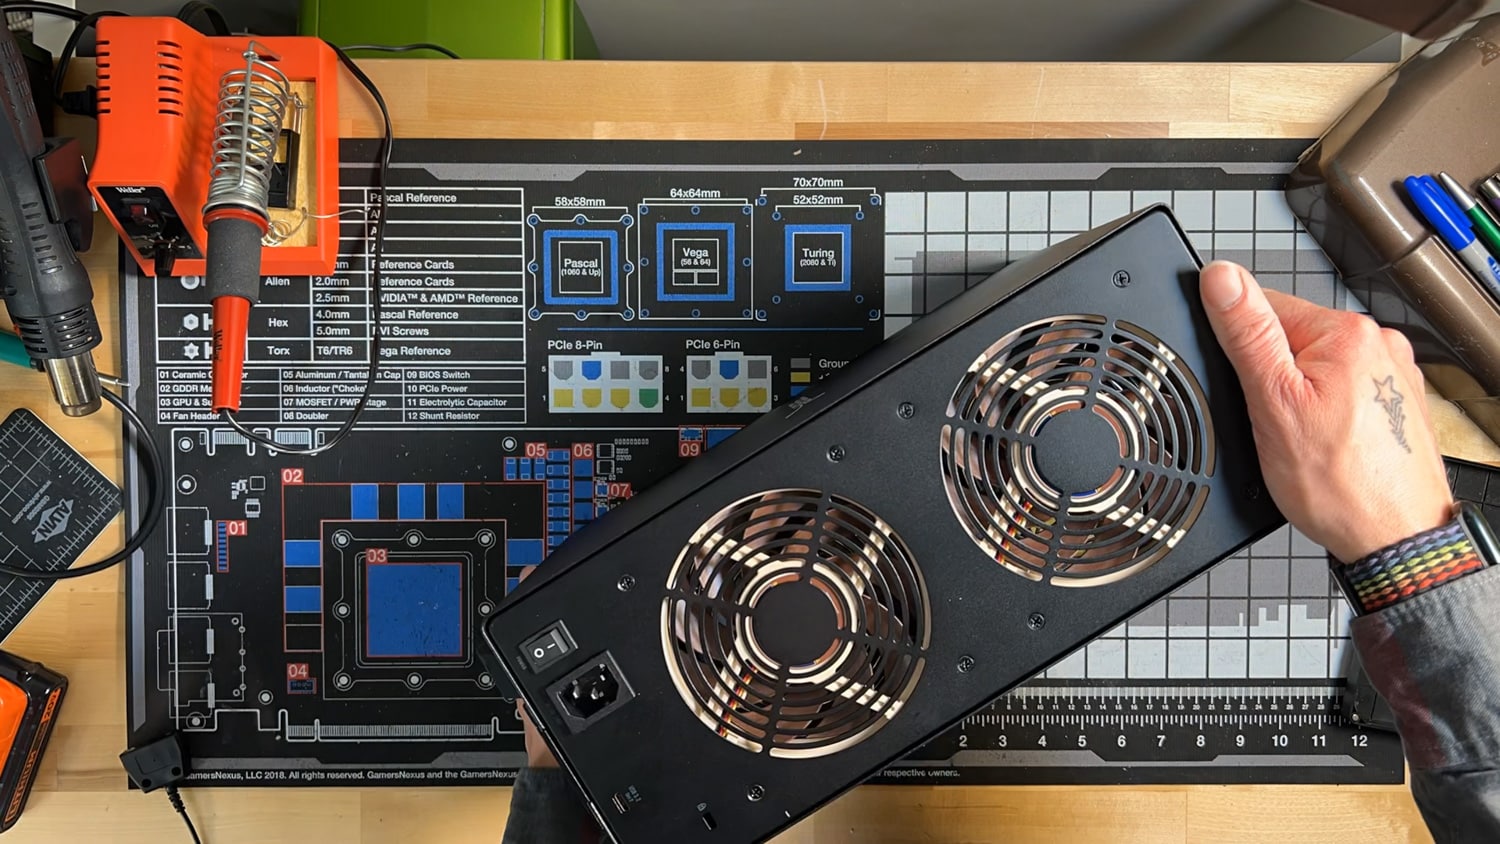
Sabrent 10-bay drive enclosure: This device used two 120mm DC fans (3-pin) and I replaced them with two NF-A12x25 FLX fans. This was a simple plug-and-play swap, although the enclosure did have a surprising amount of screws. I put this first as “least effective” since I don’t have enough drives in the device for the fans even to spin. I probably could have skipped this, but it was a good exercise. Regarding noise levels, the drives in the enclosure are louder than the fans but still pretty quiet overall.
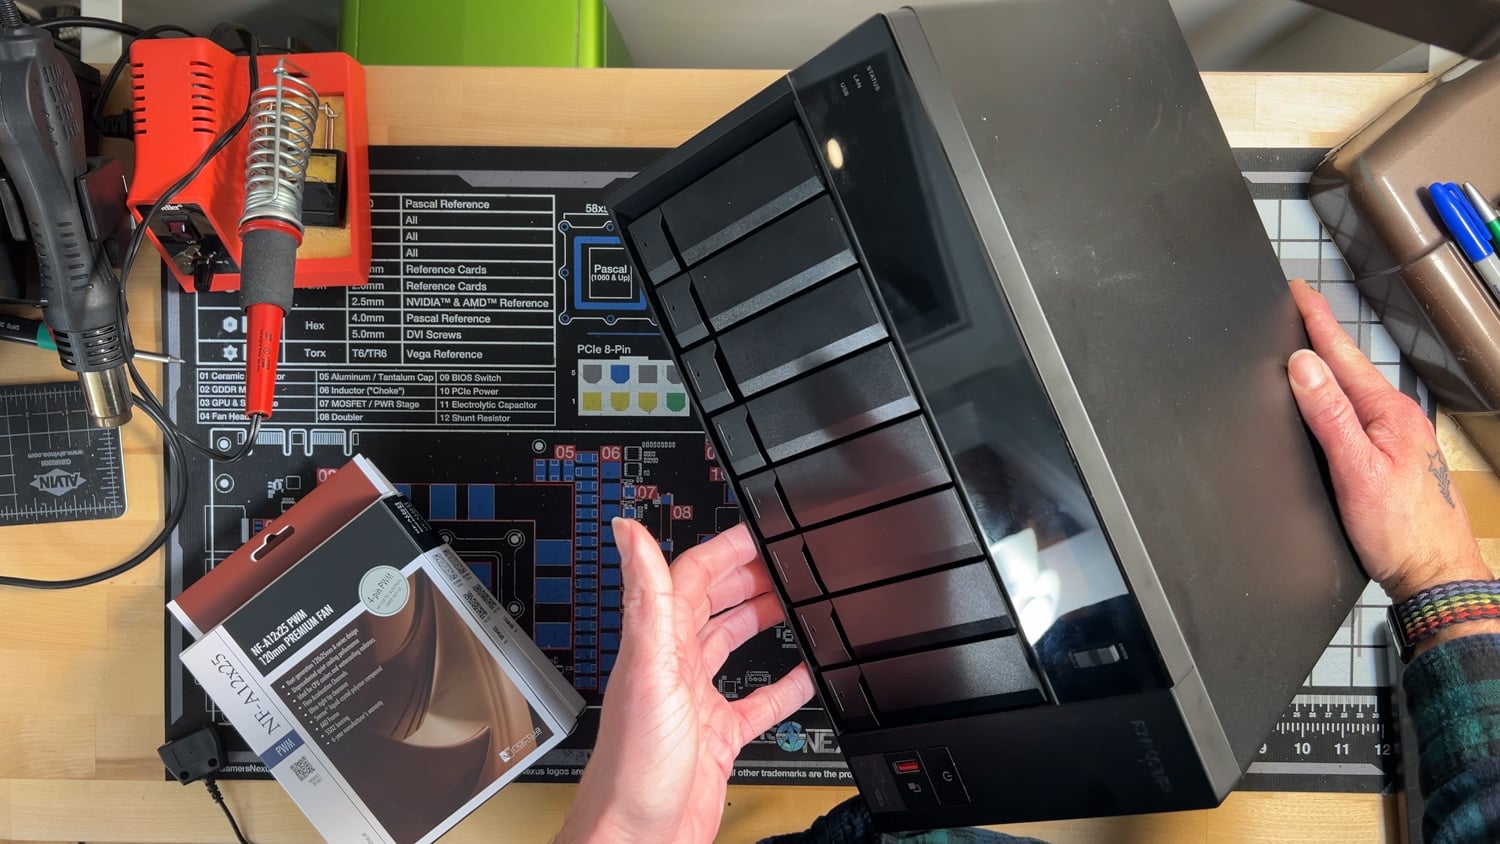
QNAP TVS-872XT: This device had two 120mm PWM fans (4-pin) and I replaced them with two NF-A12x25 PWM fans. With plenty of space to work inside, this swap was straightforward. I only needed one zip-tie. I put this second because, frankly, this NAS was already very quiet, and like the drive enclosure, the disks inside were louder than the fans. No regrets, though.
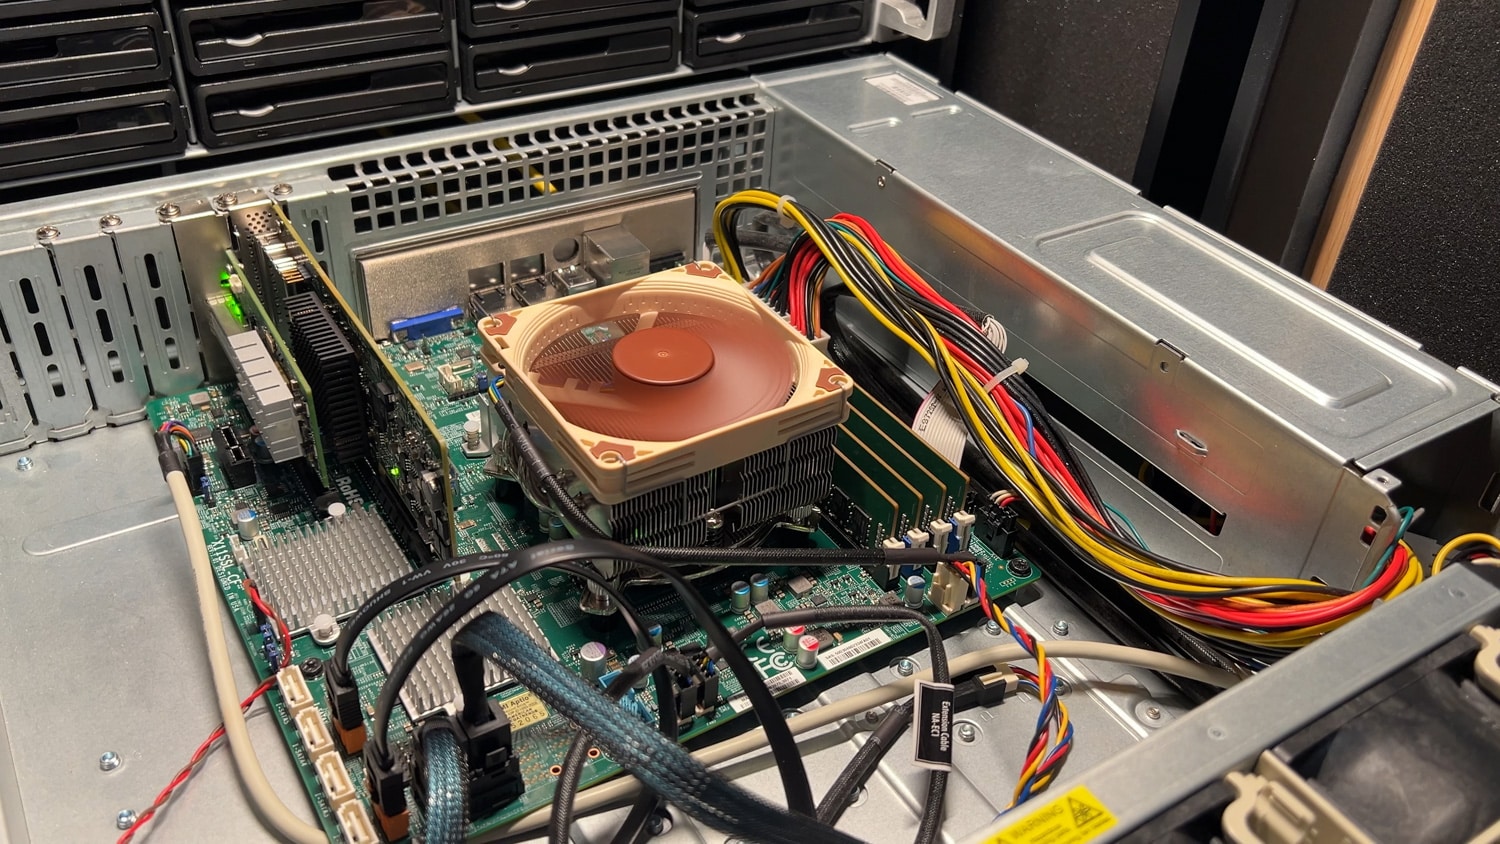
SuperMicro CSE-825TQ TrueNas Server: This device used an Intel stock cooler which was replaced with the NH-L9x65 Low Profile CPU Cooler. This is a TrueNas server running an Intel Xeon E3-1245 v6 CPU attached to an old JBOD, which I’ll discuss later. This didn’t make a noticeable difference in noise since the chassis fans are kind of loud in this unit. There was, however, a small but significant improvement to thermals on the CPU, especially during heavier loads. Unfortunately, Noctua doesn’t make anything that would adequately replace the chassis fans. I have ordered lower RPM fans designed for this chassis, so the quieting will continue.
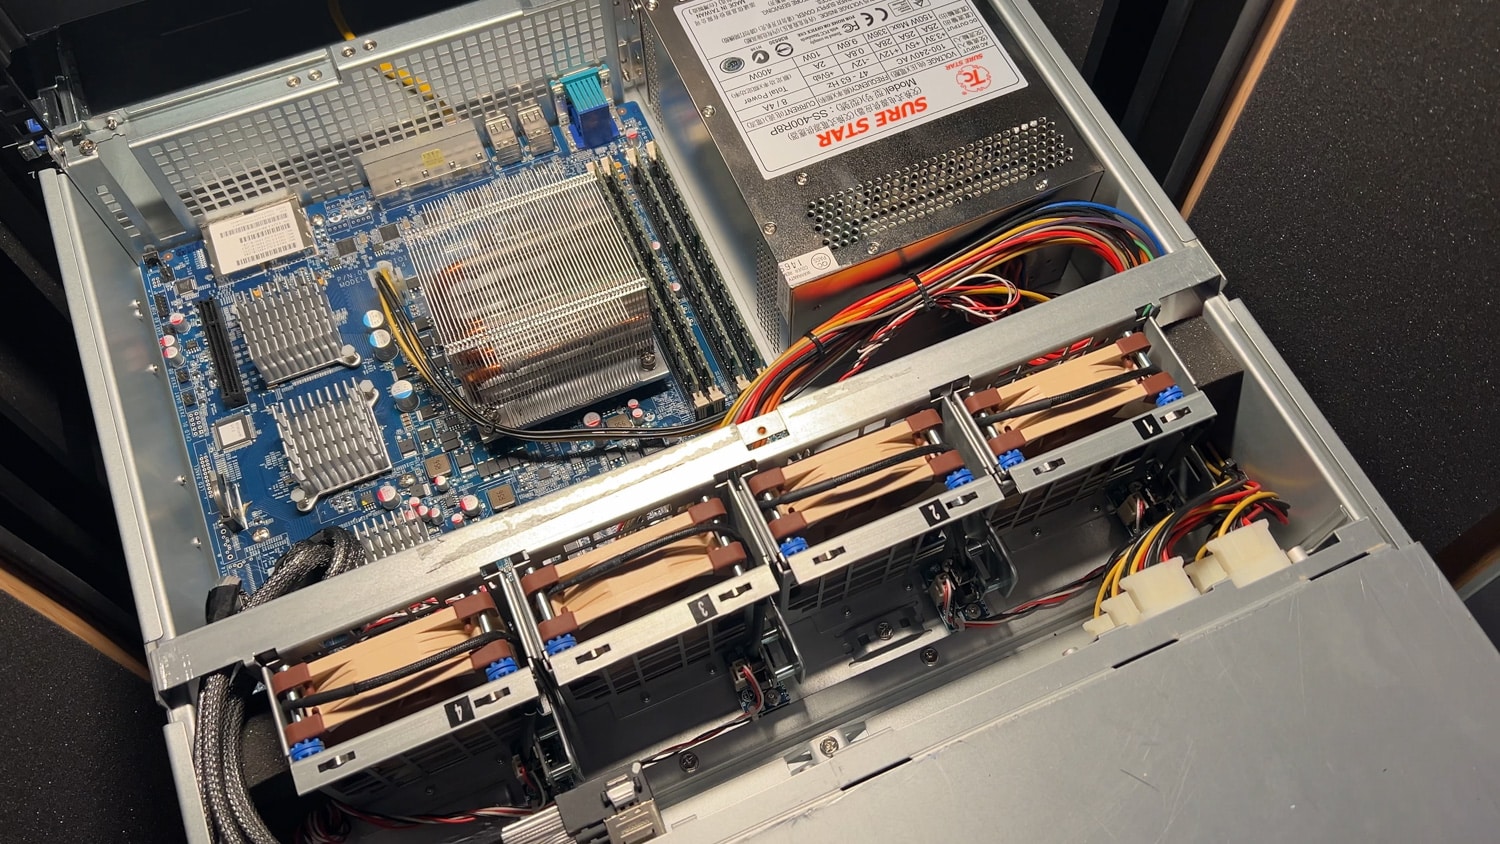
Synology RackStation RS10613xs+: This device used four 80mm DC fans (3-pin) and I replaced them with four NF-A8 FLX fans. This was by far the easiest swap, as the fans were designed to be hot-swapped in the chassis. They aren’t even screwed in; they literally fall out of the carriers. This unit wasn’t terribly loud and spends most of the time powered off as my “cold” storage server. But, while operating, there is a noticeable improvement, and the NAS did not complain about the new fans. Temperatures stayed cool on the CPU, even with a passive cooler, and temperatures were normal on all ten SATA drives. The accompanying Synology JBOD is currently empty, but it will get the same Noctua-ification if and when it’s put into service.
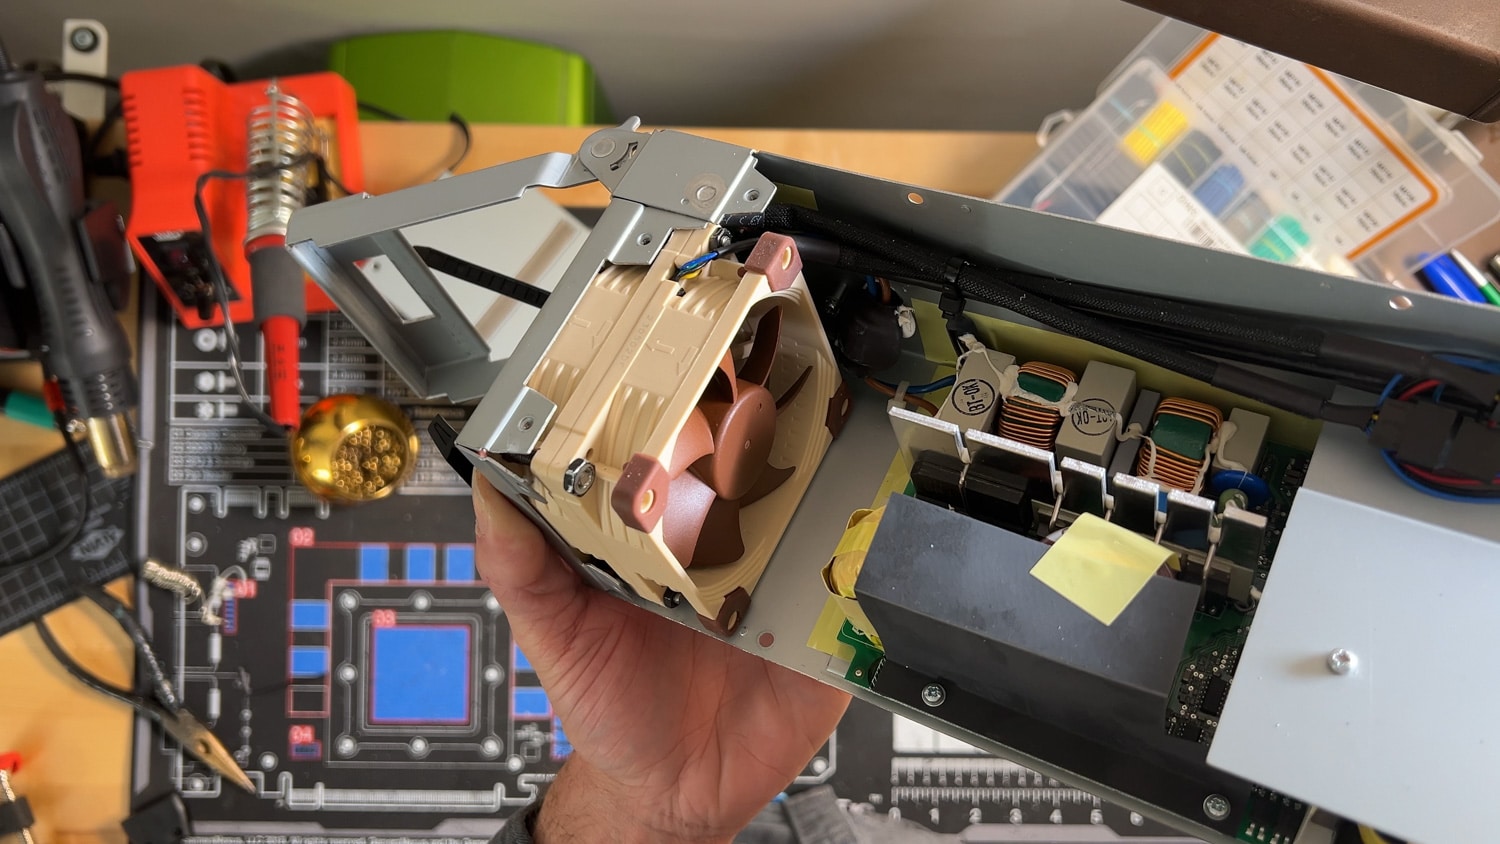
Xyratex HB-1235 JBOD: This is what I kept calling the “NetApp JBOD” since this is just a rebadged version of a popular NetApp chassis. This device used four 80mm DC fans (soldered) in the power supplies which I replaced with four NF-A8 PWM fans. The PWM fans were chosen as they have slightly higher RPM vs the FLX version (2200 RPM vs 2000 RPM). Standard disclaimer here: don’t mess around inside power supplies if you don’t know what you’re doing. This one required a bit of ingenuity and, of course, caution.
Given what I had on hand, I followed a guide on Reddit and changed my approach slightly. Like the original configuration, I used two fans butted up against each other, held together, and to the chassis, with long M4 bolts. I cut up the fan extensions Noctua includes in their packaging, soldered them to the original wiring, and plugged the fans into the 4-pin connector. While not difficult, this was a little more involved and required paying attention enough not to drop anything inside the power supply guts.
Audibly, this was a massive improvement over the original scream machines. The swap seems to have been an enormous success. Since filming the video’s conclusion (soon to be released), the unit has started to alarm for a cooling system failure (I did end up removing the buzzer so I wouldn’t have to hear it), but it is otherwise operational. The fans are reporting 0 RPM, but that’s simply not true. I can see and feel the fans moving the air out of the chassis, and after running a scrub for a few hours on all twelve 10TB SAS drives, almost all of them were sitting at around 35C, with the hottest reaching only 42C.
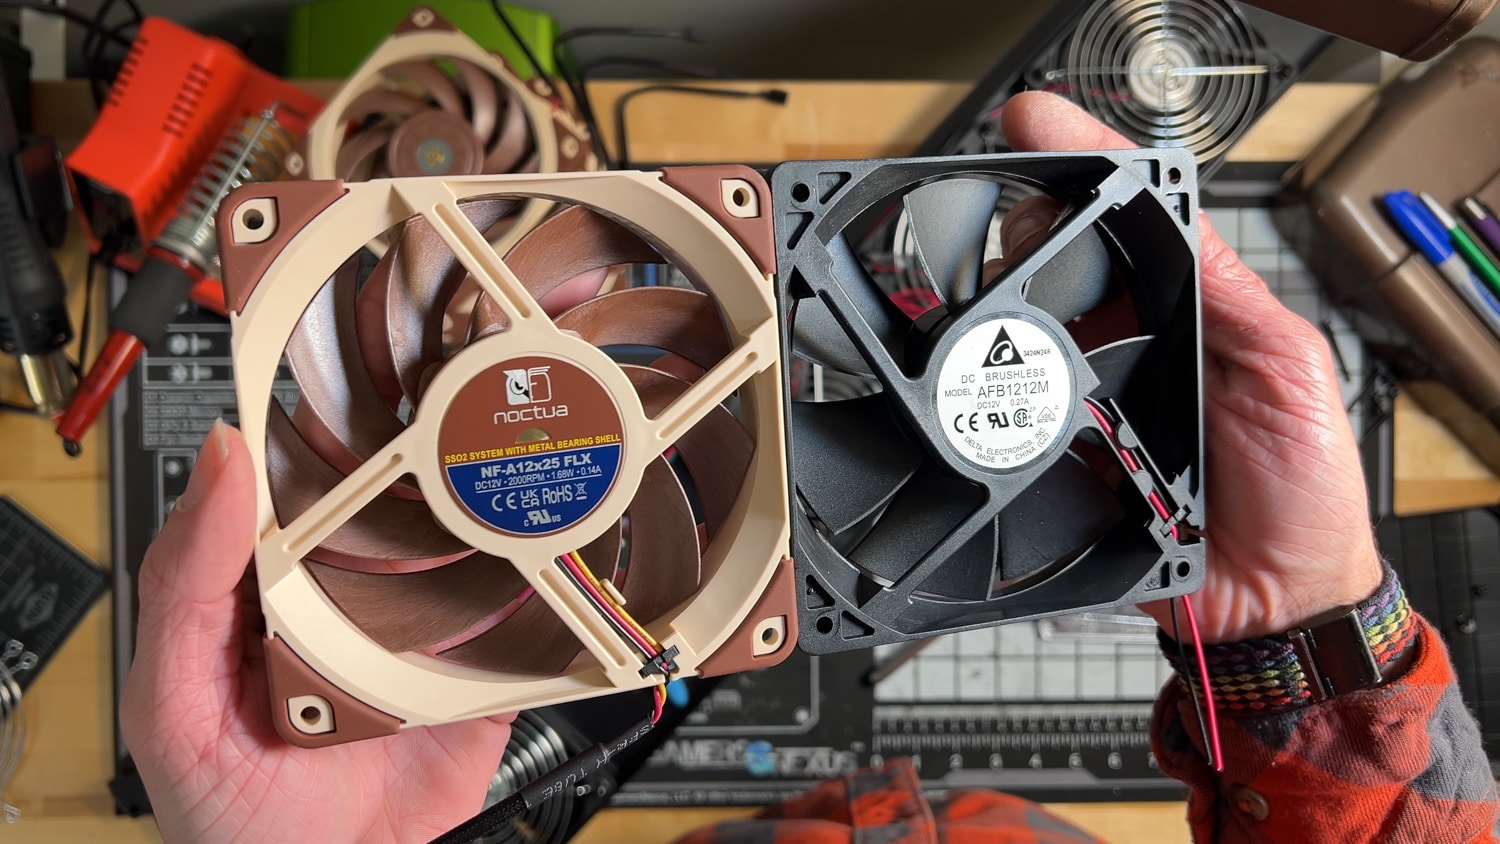
Eaton SmartRack SRQ18U: This chassis used ten 120mm DC fans (soldered) which I replaced with the NF-A12x25 FLX fans. This swap was not tricky; it was just time-consuming. There were a lot of bolts, grills, and wires to solder and heat shrink, but the results were well worth it. Objectively, the JBOD had the most significant improvement in pure decibel level. Still, this upgrade was far and away the most considerable improvement to overall sound levels outside the enclosure, which is where my ears usually are. The enclosure does a great job of decreasing the sound of the gear inside. But my biggest gripe was always the sound of the exhaust fans. It wasn’t really about the volume but more about the sound quality they produced; they were whiney.
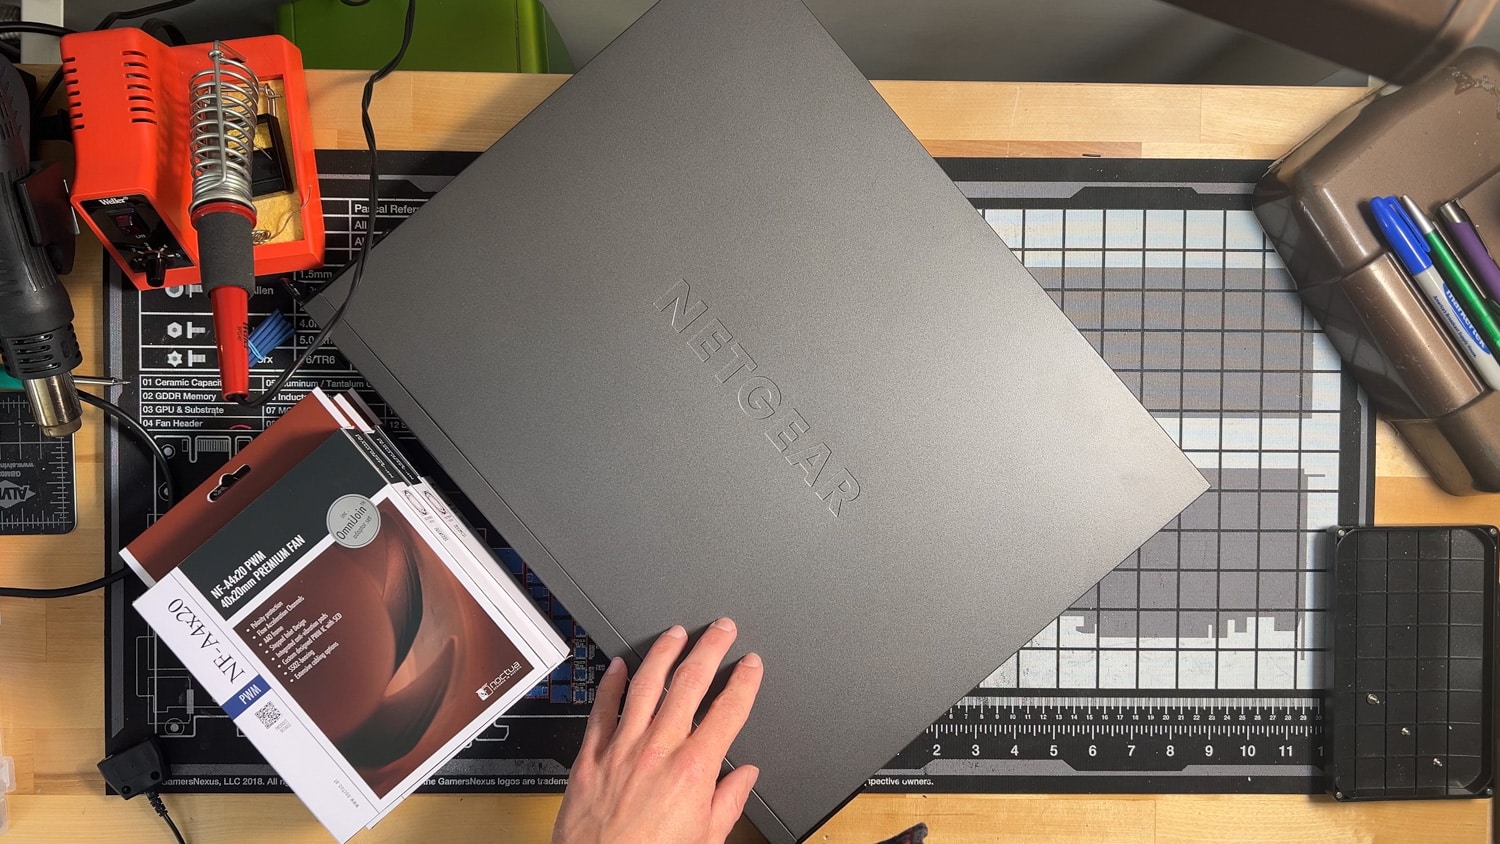
Netgear S3300-52X-PoE+: This chassis uses three 40mm PWM fans (4-pin) and unfortunately, they could not be replaced. I was anticipating this, but it was worth a shot anyway. The NF-A4x20 PWM fans I tried installing don’t spin fast enough to keep the switch happy. While I couldn’t find a datasheet on the exact original fans, the management software reports an RPM of ~5000 at 28% duty cycle, so some quick math tells me these are probably 18,000 RPM fans. This is a far cry from the 5000 RPM top speed of the Noctua fans, and the switch reported a cooling fault on the front LED indicators. I also noticed the switch was getting pretty warm at about 54C while doing nothing versus 34C under normal operation. Double, unfortunately, there is no way to manually set the fan speeds in the management. The switch kept the fans running at the same 28 percent power. At this point, the Noctua fans were only spinning at around 1800 RPM, which didn’t provide enough airflow to cool the switch.
I was going to attempt to use the original fans with Noctua’s Low Noise Adapters, but upon further reading, these adapters are only rated for 2.5W, while the original fans can pull about 9W. Using my better judgment, I left it stock. As I’ll indicate in the upcoming video, this isn’t the end of the world since I’m getting new switches soon, and hopefully, those will be quieter.
Conclusion
Do I recommend all of this effort for your home or shared space professional rack? Absolutely! I cannot overstate the improvement of combining the Eaton SRQ18U and the Noctua fans. I thoroughly recommend it if you’ve got a rack like this at home or noisy second-hand enterprise gear that could benefit from fan upgrades. As with all of this stuff, it’s never a one-size-fits-all solution, so do your research because someone has probably tried fan-swapping your particular piece of gear before. If not, you can always head to the StorageReview Discord and ask about it there.
Overall, I’m delighted with the results. Ecstatic, even. An unscientific measurement from my watch showed 41dB before and 35dB after, just 2dB more than ambient. This whole project was a lot of fun for me personally, but more importantly, it has drastically improved my quality of life while working in my living room. It’s also enhanced my rack’s overall cooling, a benefit that cannot be overlooked. The temperature sensor on my PDU reports a typical 75F with the rack enclosure doors closed and just the switch on, whereas before, I would have to keep the doors open or see temperatures as high as 85F, which would automatically kick on the original fans (a rule I set on the PDU). I’d like to once again thank Eaton for the rack enclosure and Noctua for sending me everything I needed for this project. That was really “cool” of them.
Engage with StorageReview
Newsletter | YouTube | Podcast iTunes/Spotify | Instagram | Twitter | TikTok | RSS Feed

