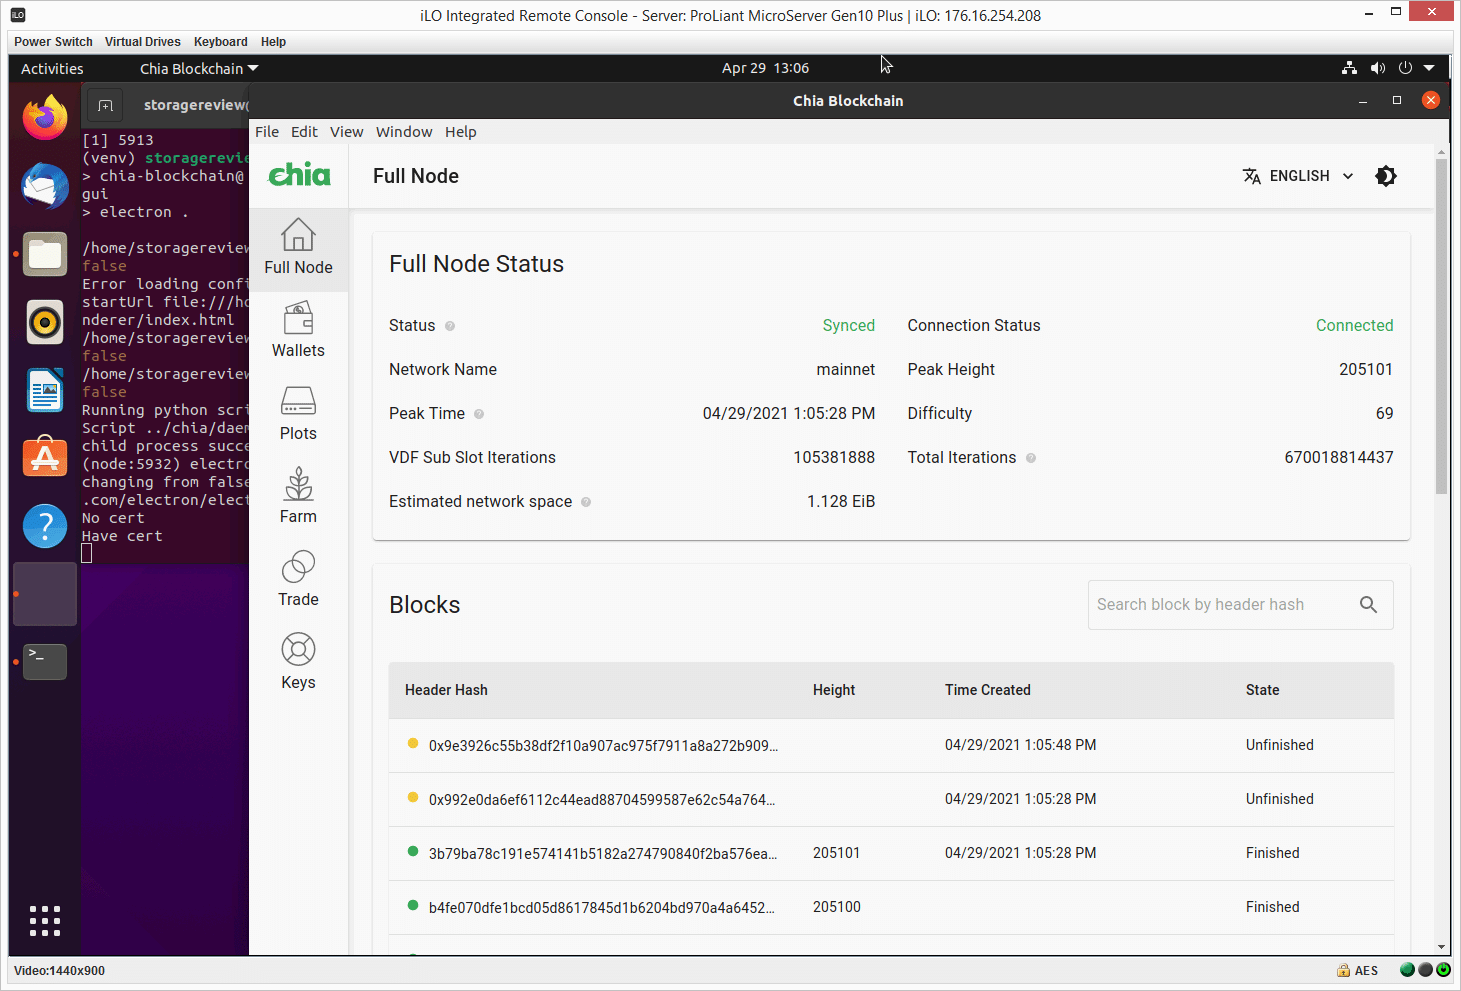
The Chia cryptocurrency has enraptured the crypto world, energizing storage nerds in a pretty fun and exciting way. While the Chia coin (XCH) doesn’t even start formally trading until next week, thousands of homelabbers and anyone with a spare SSD and patience for Chia farming have set to work. Because Chia is not dependent on GPUs like other popular cryptocurrencies, the notion of Chia plotting (storage write-intensive) and then farming (high-capacity storage availability) is pretty much open to anyone. With that comes an important question then, what’s the best budget Chia plotting rig to get started with?
Read More – Top 4 Cheap SSDs for Chia Plotting

Budget Chia Plotting Rig Setup
Longtime readers will immediately recognize the server we’re using for this project. The HPE MicroServer Gen10 Plus is just darn flexible and affordable, so it pops up again for this project. These servers start at $588 but for $650 right now, you can score one with 16GB of RAM and an Intel Xeon E-2224 which is a four-core, four-thread CPU with a base frequency of 3.4GHz. Beyond that, the server offers four onboard gigabit LAN ports, which is actually quite sufficient here, despite our tendency to put 100GbE cards in everything.
The fact that the onboard LAN is sufficient is actually really important. The server has a single PCIe expansion slot, and we don’t want to use that for a NIC in this case, we need it for more storage flexibility. Speaking of storage, there are four 3.5″ SATA bays in this system. And, if we want to add more capacity, we can do so by installing an HBA in the server. Now we can connect JBODs for additional capacity, which is a more reliable and scalable option than using USB ports. Lastly, we installed the OS to a USB drive using the internal USB slot.
The SATA ports are really the only downside of this system. Chia plotting relies on fast storage that can soak up almost exclusively intensive write activity. SATA SSDs aren’t really designed for this, but as we’ll see, they can handle this work. But it matters what drives are used, Chia plotting will destroy low-endurance, low-quality consumer SSDs.
Storage Configuration for Chia Plotting
As noted Chia plotting is extremely write-intensive. As such a drive’s performance will pretty quickly find its floor and endurance will be consumed rapidly. Even so, SSDs are the best resource for this work. While ideally, we’d use something built for write-heavy workloads like Optane P5800X SSDs, those aren’t exactly within budget for someone wanting to explore Chia. We do however want to use a good drive for this work.
In this case, we’re using one Western Digital SA210 SSD. We happened to have 1.92TB drives available, but that’s more than you really need. Anything designed for mixed workloads or higher capacity should do the job since it will all come down to the endurance of the drive for longevity.

For both plotting and farming, which we’ll discuss, drive setup should be JBOD. Chia rewards capacity over resiliency, so having more drives is better. For plotting, that means we’re going to address the SSD directly as the temp space and then the three hard drives as the destination for completed plots. The Chia CLI and GUI are both able to do this, while the GUI is much more friendly (if less stable) for a novice user.

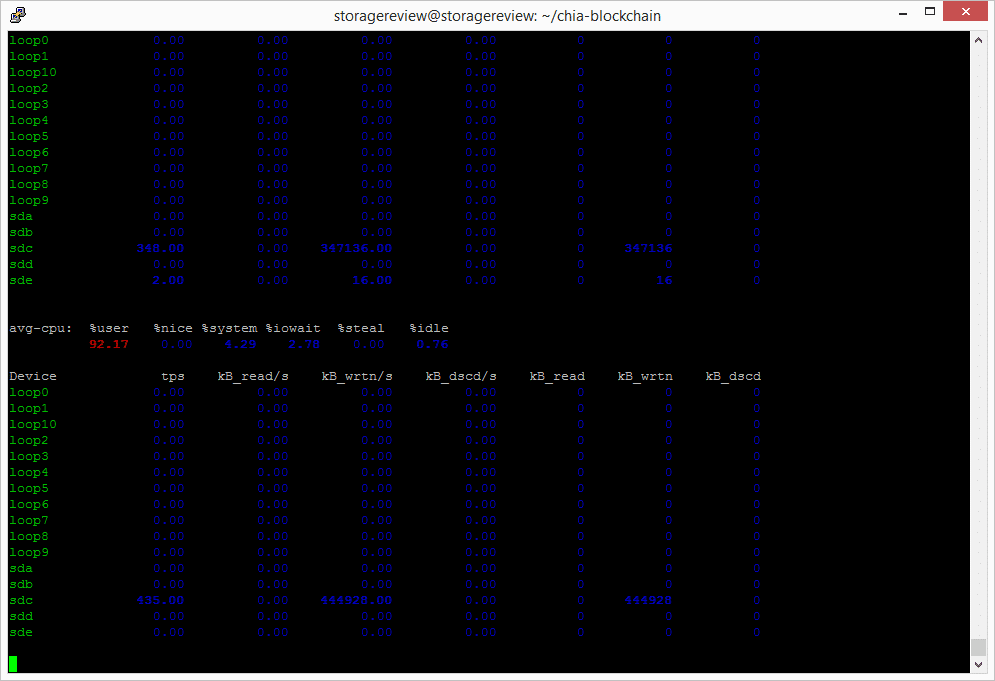
To provide a little more clarity on the impact of plotting Chia on the SSDs, let’s look at some of the data. With a K=32, which is the most common, the final plot will be about 101GB. That’s not the entirety though, there’s a temp working area that reaches a little over 220GB in the latest revision. Because the swap from RAM to SSD occurs heavily during this process, it’s estimated that a single plot nets about 1.4TB of writes on the drive. With that understood, it’s clear why cheap consumer drives will get destroyed in this workload.

When it comes to plotting on the MicroServer, we followed this fantastic guide from Chia Decentral discussing a budget plotting rig. We expanded on the build idea they went from, focusing more on a turn-key platform that can leverage 3.5″ hard drives and offer room for expansion. Our reasoning comes more from day-to-day management, its super small footprint, and its very low entry cost for a built system.
Our one change from the guide was switching from 8 concurrent plotting jobs down to 4 concurrent jobs being queued up. There are many platforms to chose from ranging from consumer notebooks to purpose-built enterprise plotting and farming rigs… it all depends on your budget or available hardware on hand.
Storage Configuration for Chia Farming
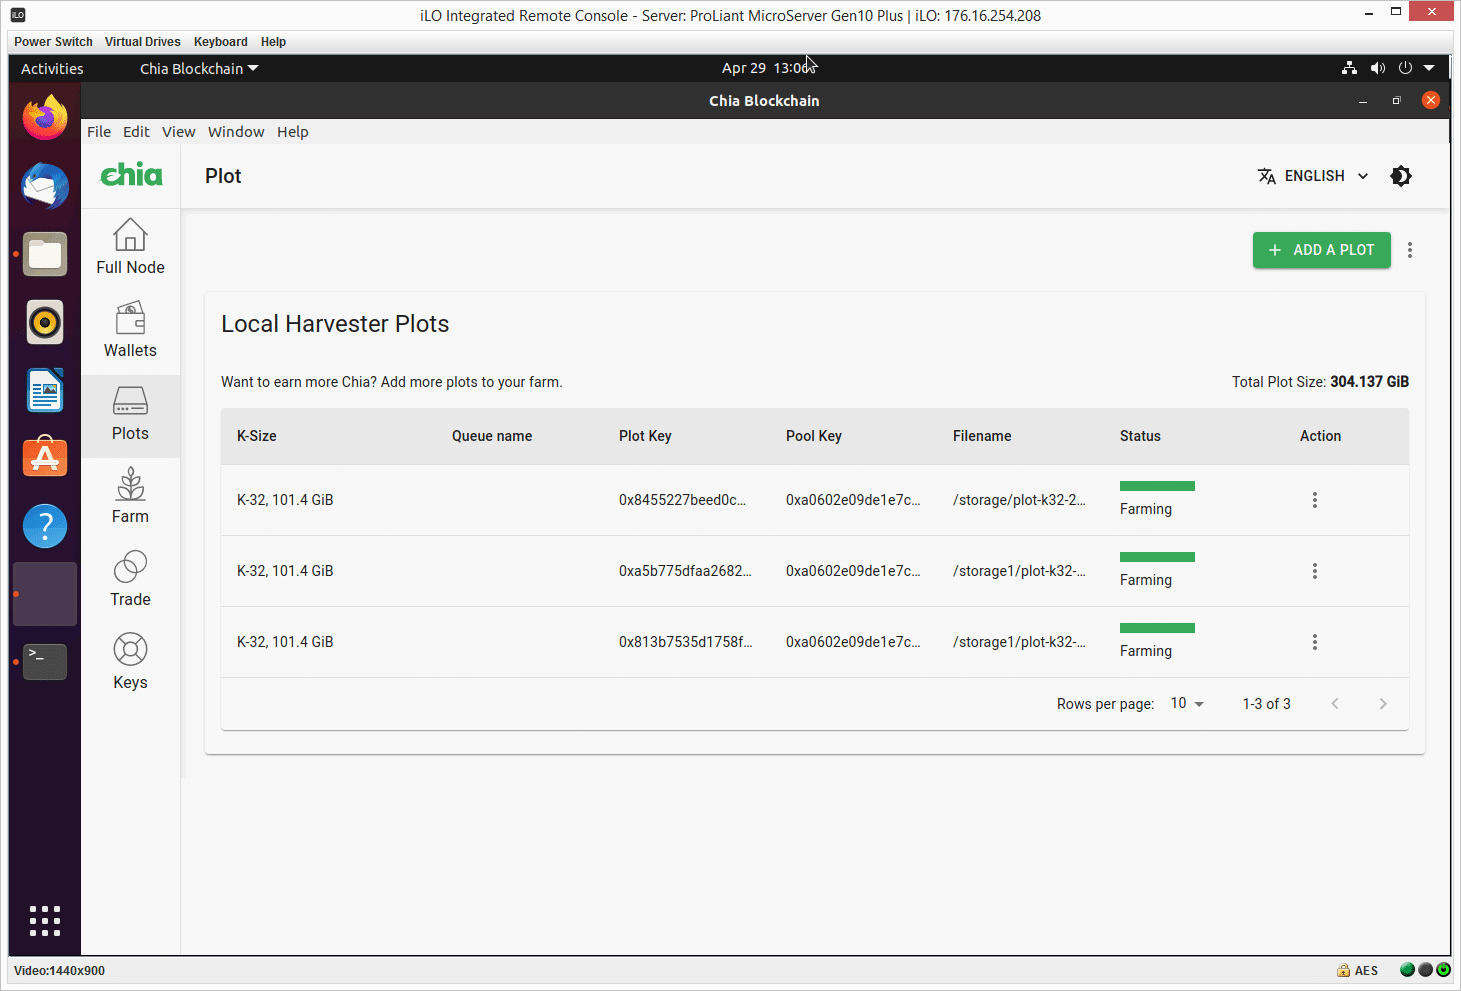
When it comes to farming, you want the most capacity possible. in this rig, we used three 18TB IronWolf Pro HDDs. The 18TB HDDs do carry a premium though, so pricing, while highly dynamic, is a little better at 16TB. Amazon has 16TB Exos for instance for under $500 each right now.
As each plot finishes its work on our SSDs, the Chia console offers the ability to move it automatically to one of the three hard drives. When it comes to farming, the more TB you have, the better the chance for matching one of the daily 4,608 blocks that nets a win and two Chia coins.
As storage guys, our initial inclination was to use RAID1 for data resilience, but building the data footprint capacity is more important. The value of the time lost that you could have been farming blocks outweighs the change of a drive failing. Should a hard drive be lost, there is some pain to re-plot all of that space, but that’s a better alternative than losing a single GB with RAID.
Budget Chia Plotting Rig Effectiveness
Overall the MicroServer gives us a lot of flexibility and isn’t very expensive. There is one tradeoff with the bays being SATA, but the option to add a PCIe card means that as our farm grows, it’s easy to scale capacity ad hoc via JBOD. While there are less-expensive ways to get going with Chia plotting, this setup is enterprise-grade throughout and handles the workload pretty darn well.
For the casual Chia farmer, it’s going to be very difficult to beat. For the advanced Chia farmer, the MicroServer would make a fantastic farming-only platform, leaving the plotting to a much larger and power-hungry NVMe-based setup. In either case, it’s much better than trying this on a NAS, NUC, Pi, or some other value-centric system.
***Update 4/30/21*** After roughly 24 hours, this rig has been able to produce 7 completed plots for 10 total (started with three).
***Update 5/1/21*** After roughly 48 hours, this rig is up to 15 plots.
Read More:
- Top 4 Cheap SSDs for Chia Plotting
- Our Favorite Chia Plot Migration
- Keep your Chia Sync Online
- Cooling is critical for chia plotting speed and safe farming
- Best Budget Chia Farming Rig


 Amazon