
The OSNexus QuantaStor Community Edition allows usage with minimal limitations with support for up to four nodes at 80TB per node.
![]()
OSNexus has rolled out a new community edition of their QuantaStor software for non-commercial, educational, and testing use. This is great news since homelabbers can run this software at home, or admins can give the product a trial run before deploying QuantaStor without jumping through hoops.
The community edition keys are good for 2 years, but also renewable after that 2 years have passed, still absolutely free. You may think that this community edition probably comes with very trimmed-down features, when the reality is, that this is almost a full-fledged product without any interruptions.
The only limitations are: 1. You can only have up to 80TB of raw capacity per server, and 2. You can only have up to 4 servers per storage grid. For most homelab users or validation use cases, these limitations are hardly limitations at all, since most of these deployments won’t be getting to a total of 320TB.
QuantaStor Background
If you aren’t familiar with QuantaStor, we’ll give you a quick rundown. QuantaStor is a unified software-defined storage platform that serves to be scalable. QuantaStor uses Ceph to provide scale-out block and object storage. It supports all major file, block, and object protocols like iSCSI/FC, NFS/SMB, and S3. QuantaStor can also be configured for multi-site applications.
QuantaStor uses a built-in management system that enables QuantaStor servers to work together and simplify automation and management. The management interface and configuration workflow manager remove loads of complicated steps that used to be parts of legacy storage applications, allowing IT teams a powerful and intuitive solution. QuantaStor is also a flexible layered architecture that brings loads of options and flexibility allowing more performance and fault tolerance.
We all know that storage devices are huge targets for data exfiltration on networks, so QuantaStor includes end-to-end security with multi-layer data protection covering data that is both in motion and at rest. This coverage extends to cover cloud storage deployments as well.
OSNexus QuantaStor Community Edition Setup
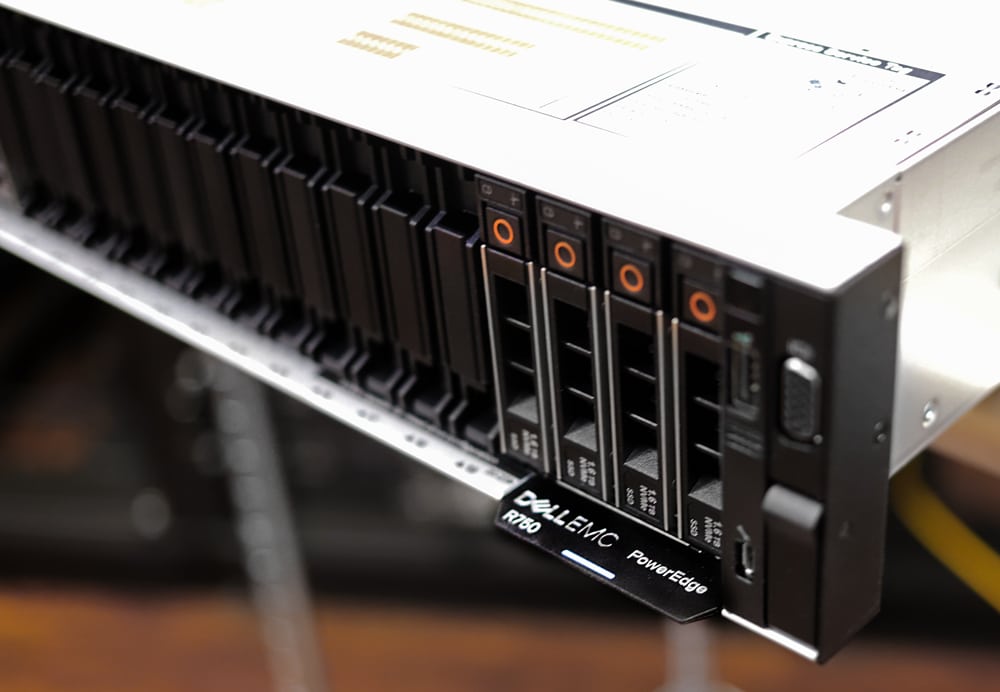
For our testing, we installed QuantaStor on our Dell Poweredge R750 with a few drives to toss into pools. For the storage, we have 1×0 480GB SAS SSDs, and 6x 1.6TB NVMe SSDs, with one of the NVMe SSDs used for the OS installation. This platform has dual Xeon Platinum 8380 40C/80T CPUs, and 16 64 GB DIMMs, totaling 1 TB of RAM.

This hardware is overkill for what QuantaStor needs, but it was a lonely platform looking for a job to do. According to the OSNexus wiki, QuantaStor doesn’t have a minimum core count but recommends a minimum of 16GB RAM. For storage, they recommend 2 hardware mirrored boot drives and any number of disks for storage pools.
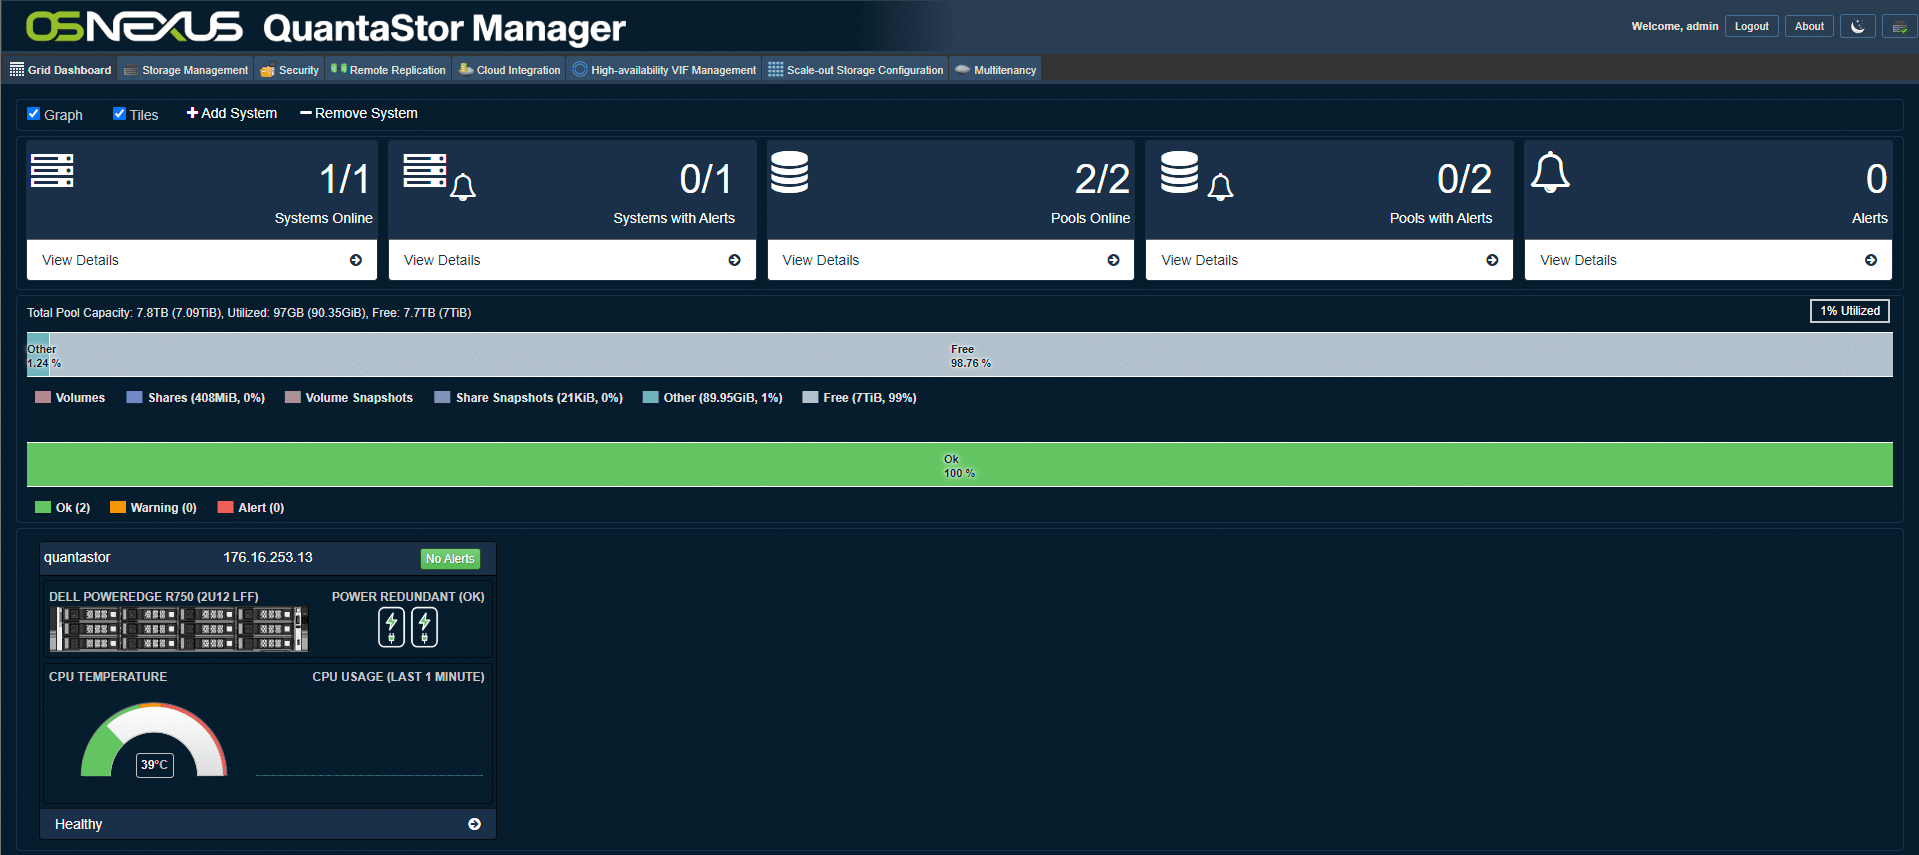
The initial installation of QuantaStor is straightforward. After installation, everything is done through the web interface, which presents you with the dashboard below. This dashboard provides information on all of your hosts and pools and alerts you if one of them has issues. In the bottom left, we can see that QuantaStor tries to show where drives are in the physical bays.
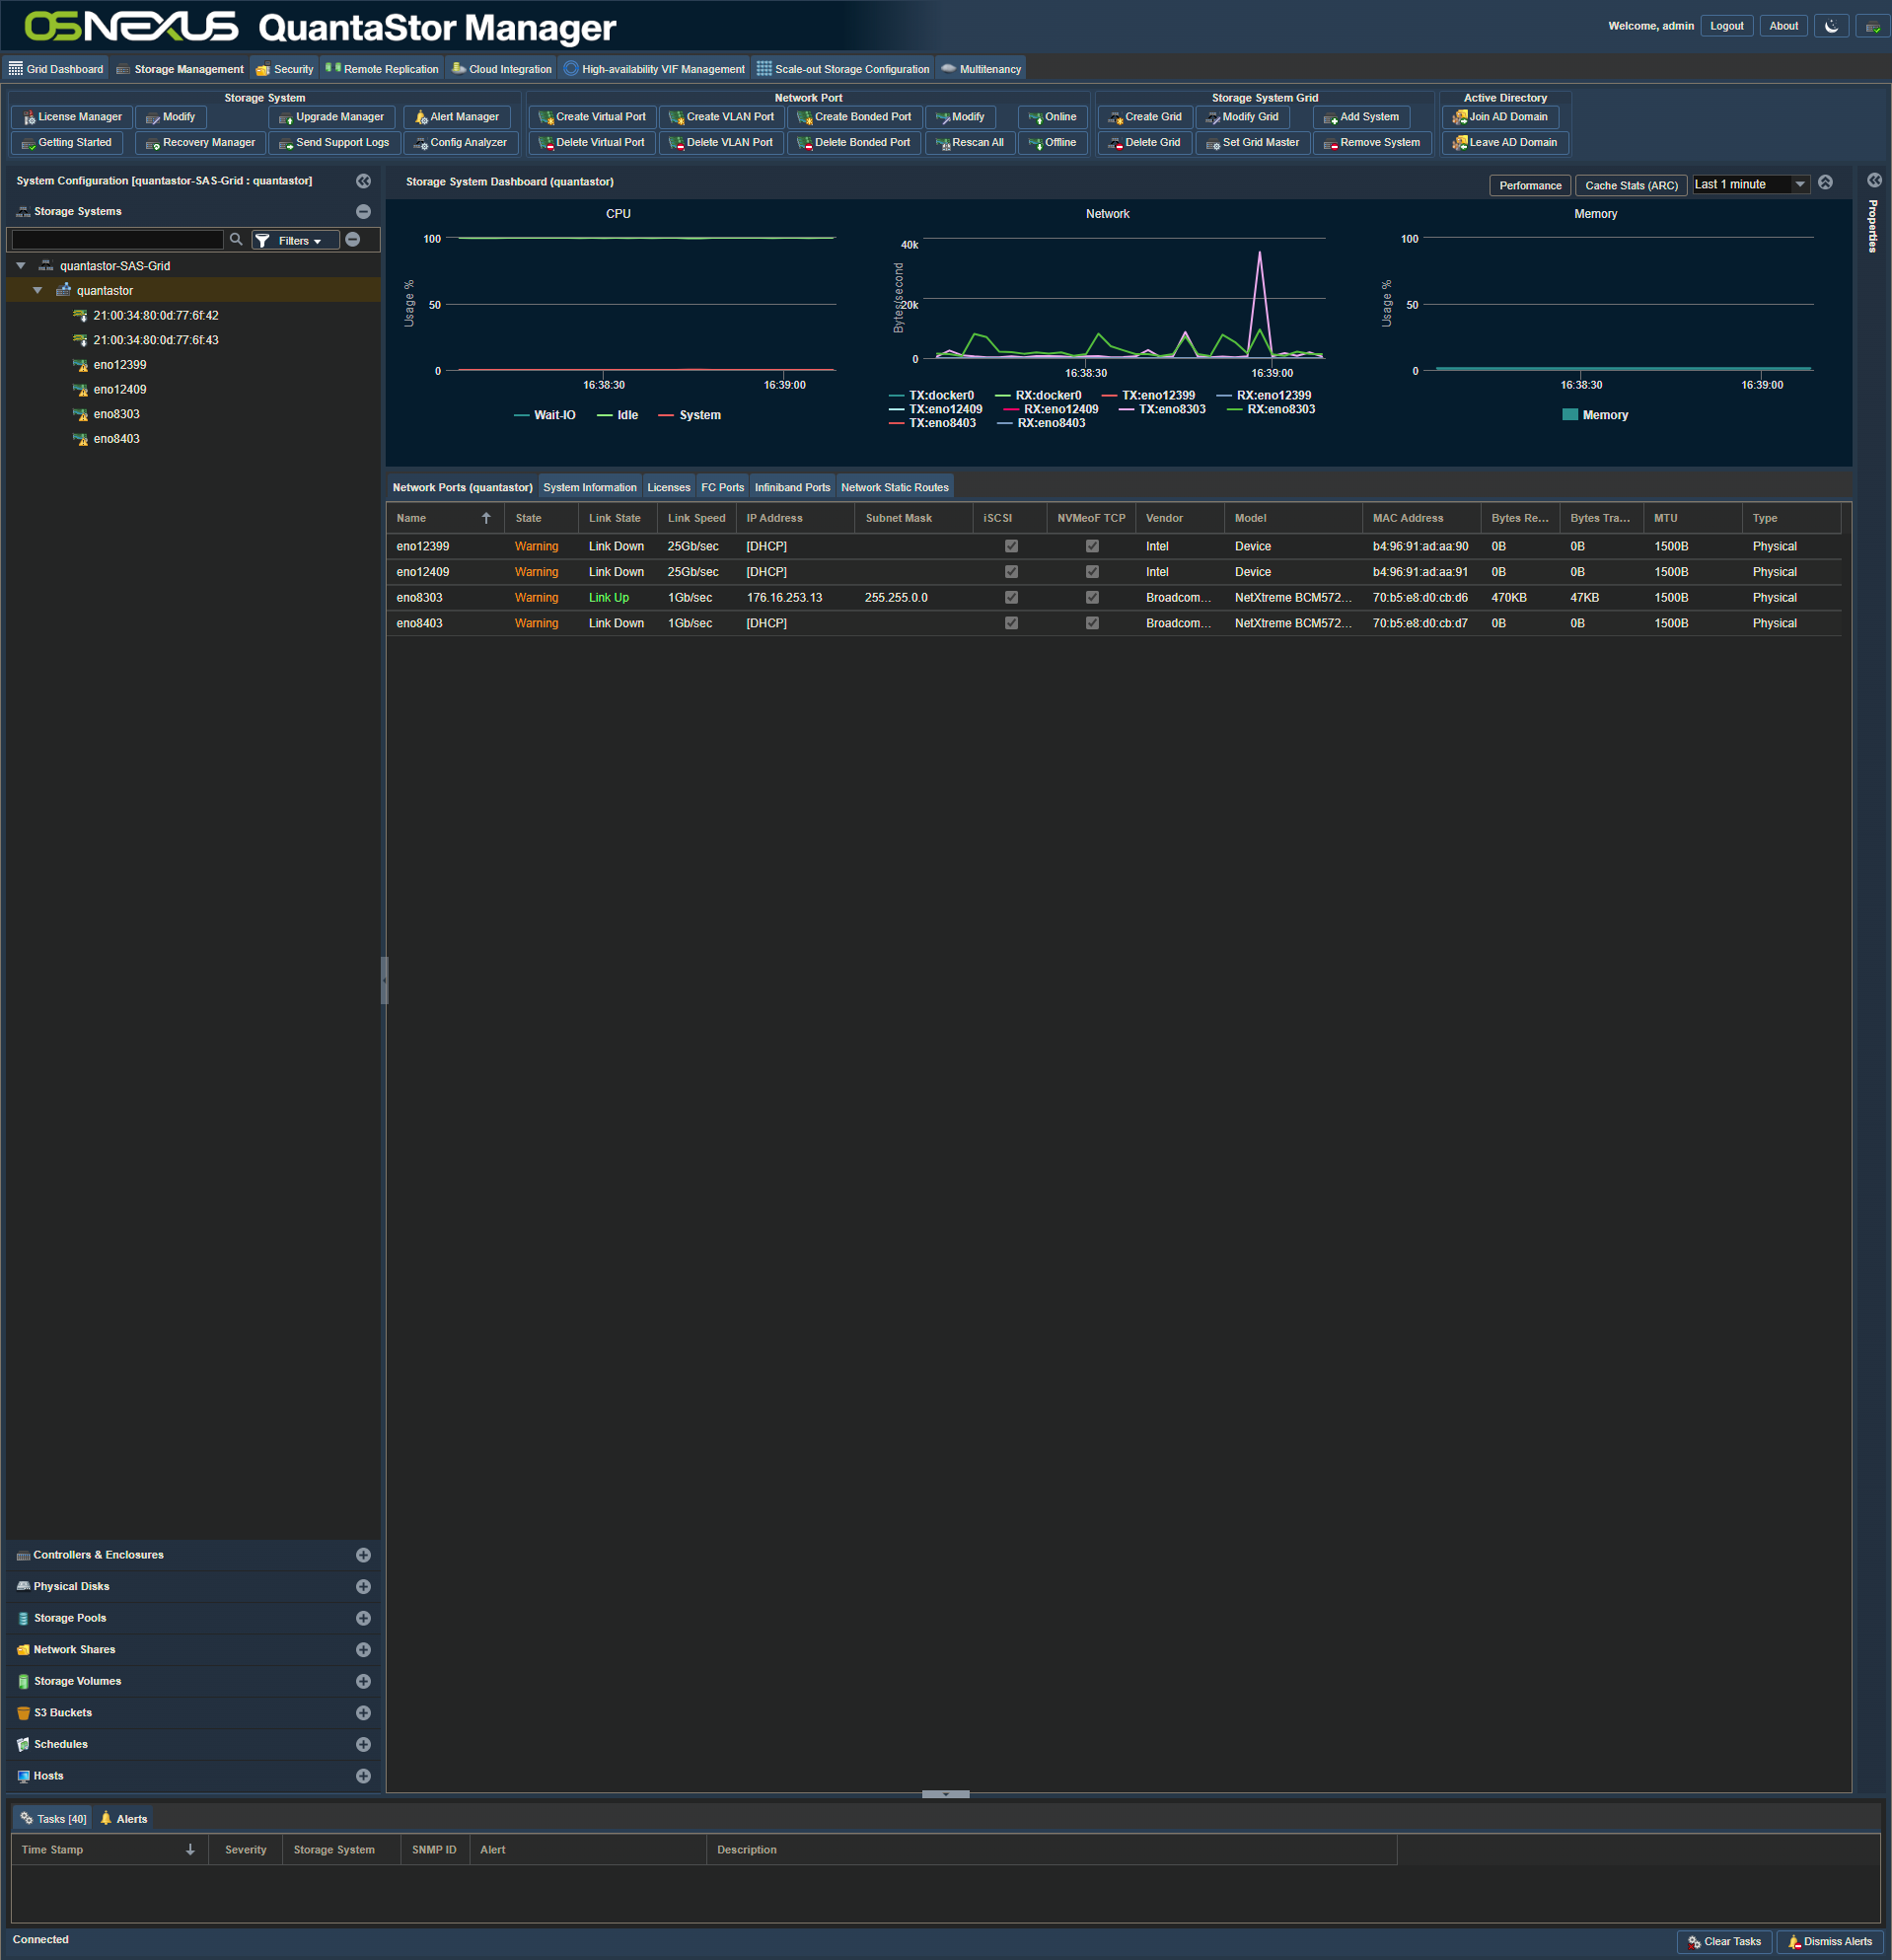
Here is another dashboard, this is a host-specific dashboard giving quick information on your system resources. You also use this dashboard to move to management of your physical disks and storage pools.
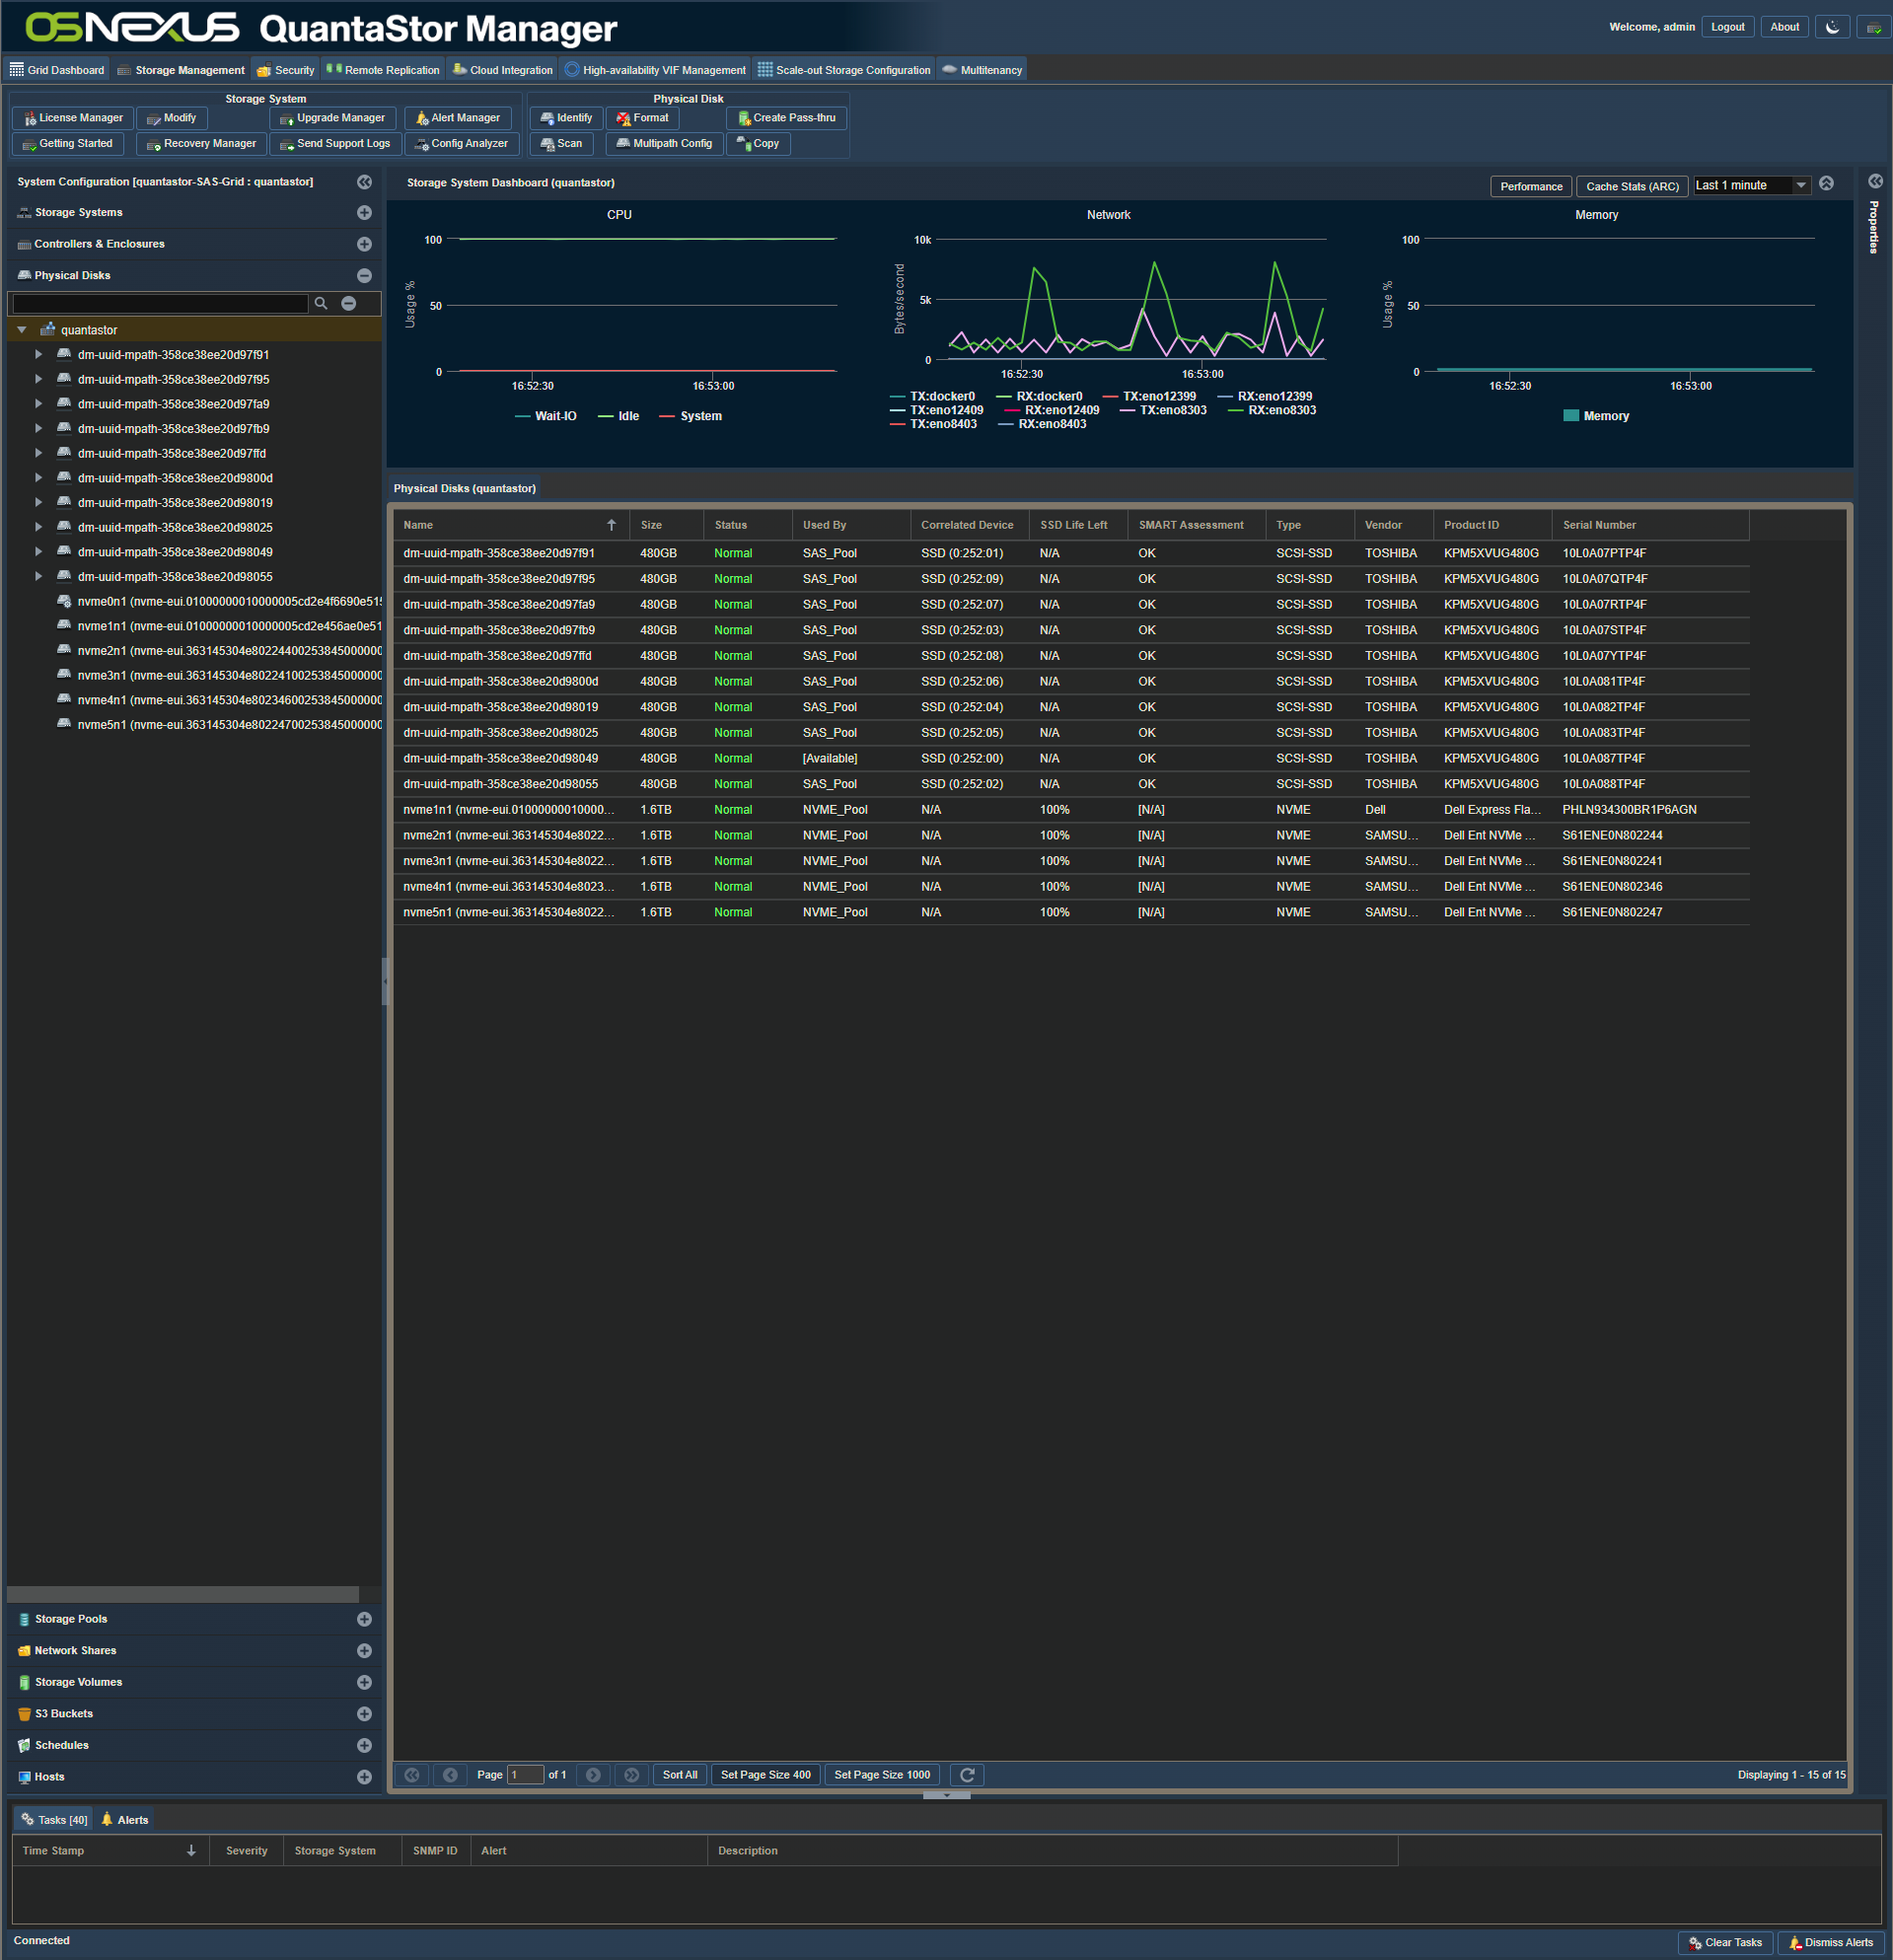
In the Physical Disks dashboard, we can see the important information about each drive as well as what pool is using that specific drive.
OSNexus QuantaStor Community Edition Storage Pools
To use your QuantaStor Community Edition appliance, you’ll need to start by making storage pools and network shares to utilize your drive space. To help out, we’ll go over the steps to create simple pools and shares.
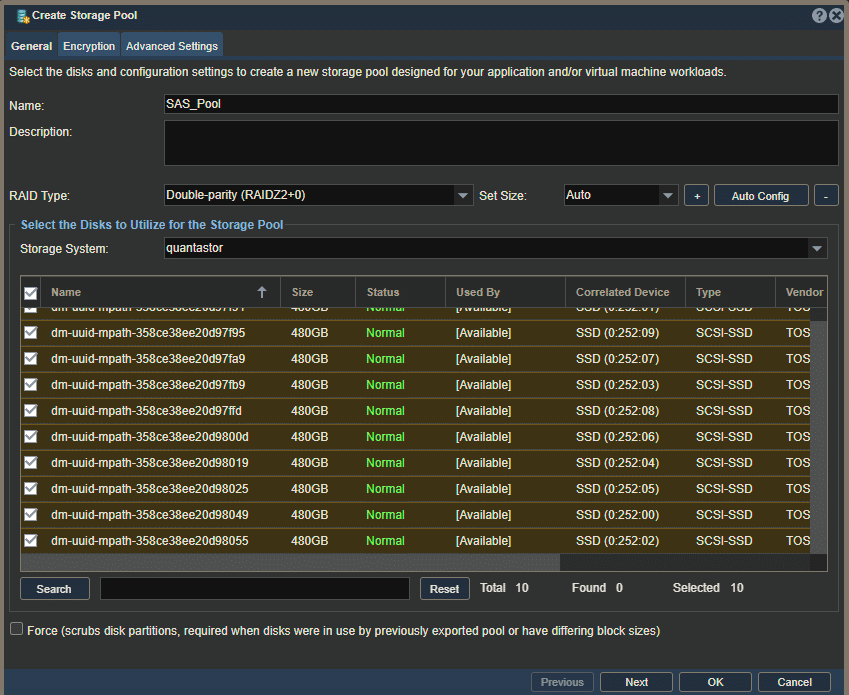
To create a storage pool we will first create a name, pick our RAID type, and select the drives to include in the pool. We went with a Double-Parity RaidZ2+0 which can survive two disks failing at the same time before causing issues. This means that though we are selecting 10 drives, we will only get the capacity of 8 drives when the pool is created.
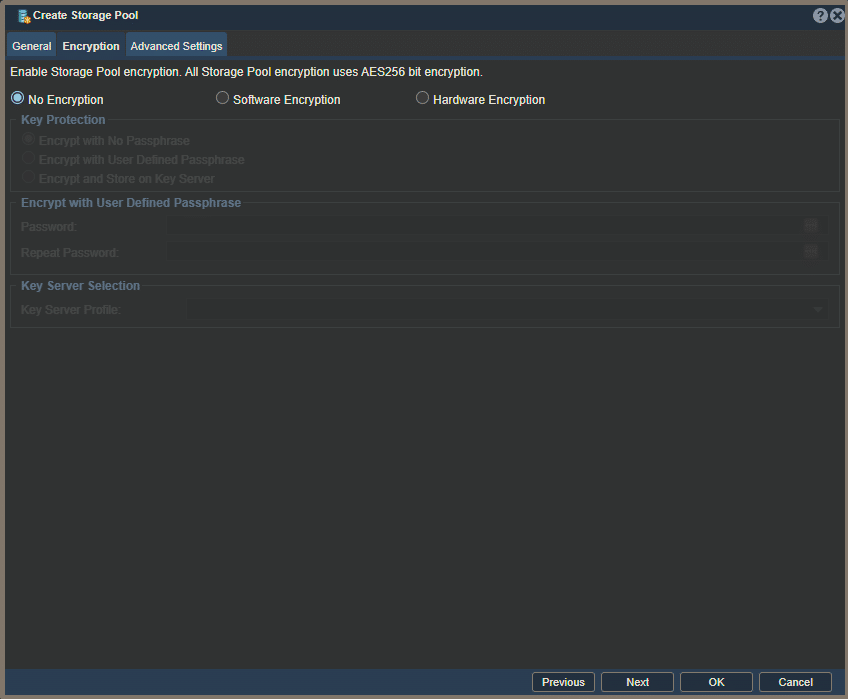
Next, we get the option to encrypt the storage pool, but for the sake of demonstration, we will leave this unencrypted. In a practical sense, it is usually a good idea to encrypt data at rest.
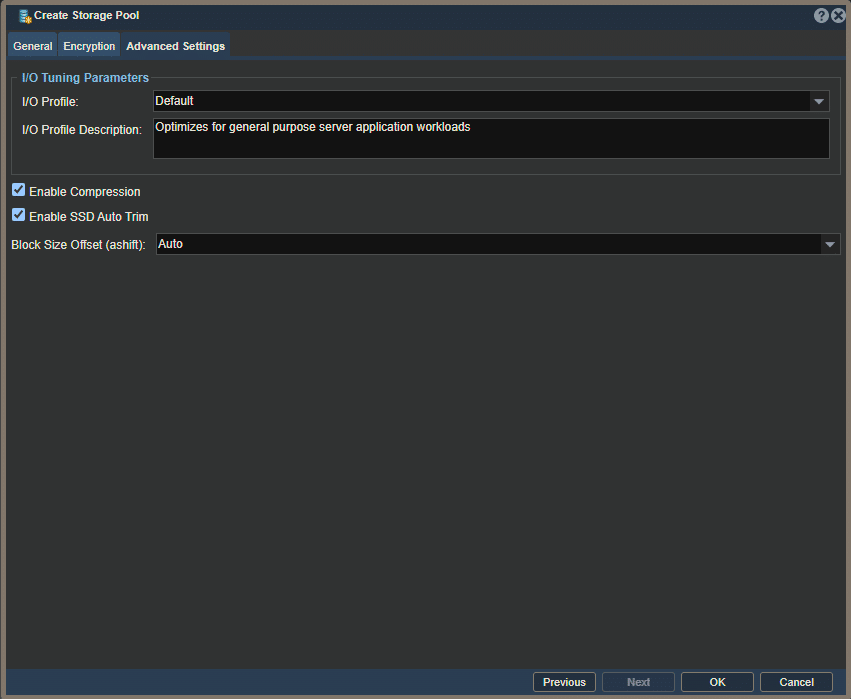
From here, we have options for I/O tuning, compression, SSD auto trim, and a block size offset. All of these options are default except the SSD auto trim, which was enabled with these pools containing all flash.
OSNexus QuantaStor Community Edition Network Shares
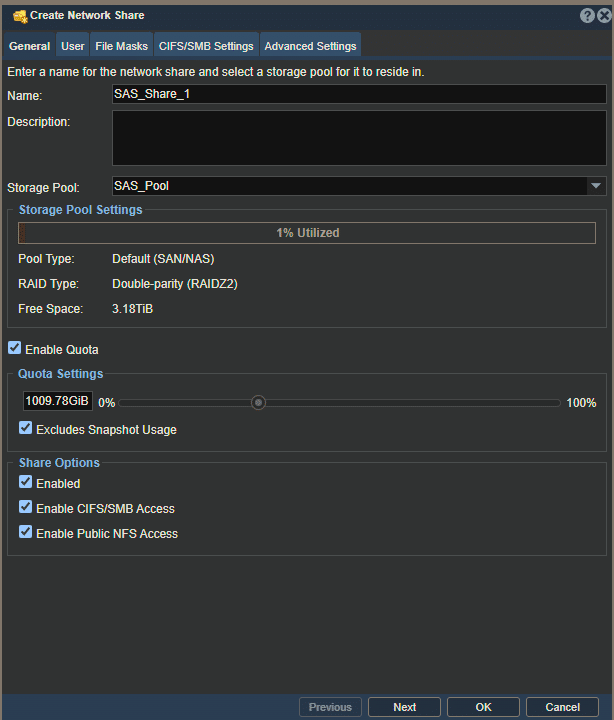
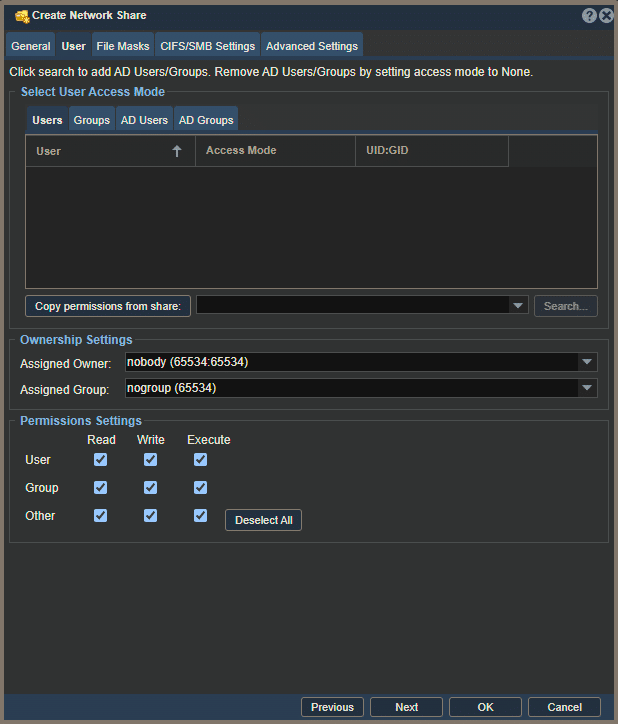
Now we have the storage pool, but it isn’t usable yet, so we created a quick network share to transfer and store files. First, we set a name, select the storage pool, and set a storage quota if you don’t want to use the whole pool for the share, as well as enabling CIFS/SMB access if it isn’t already.
Next, we can set user restrictions and group restrictions, but for a simple share for testing, we left the user and group access blank.
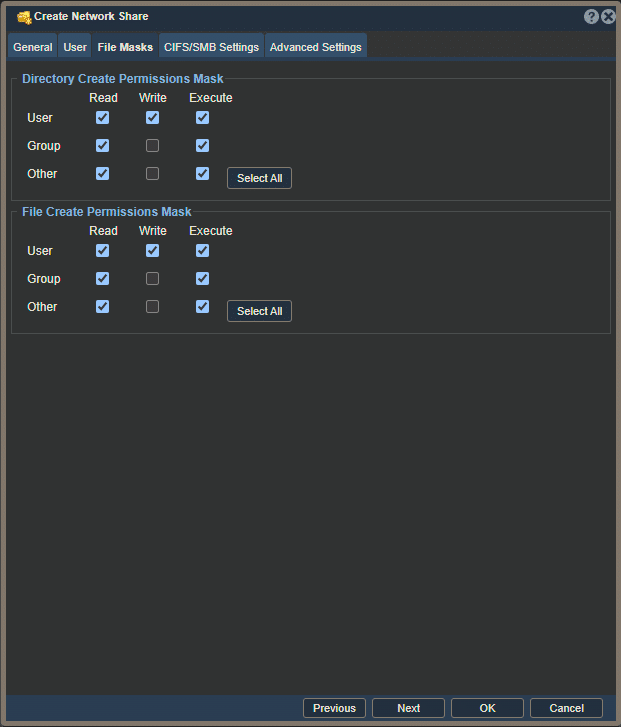
The next page covers file masks, which deliver permissions regarding the creation and deletion of folders and files within the share.
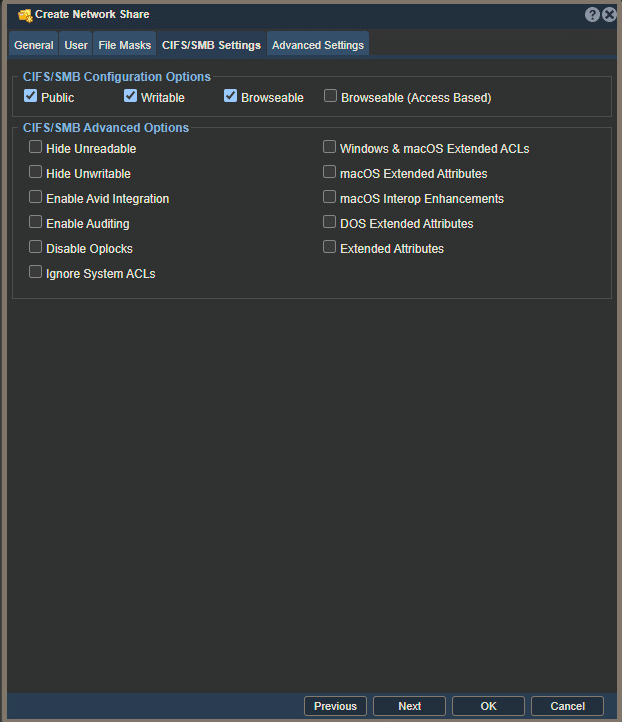
Next are the CIFS/SMB Settings, and we set them to public, writable, and browsable.
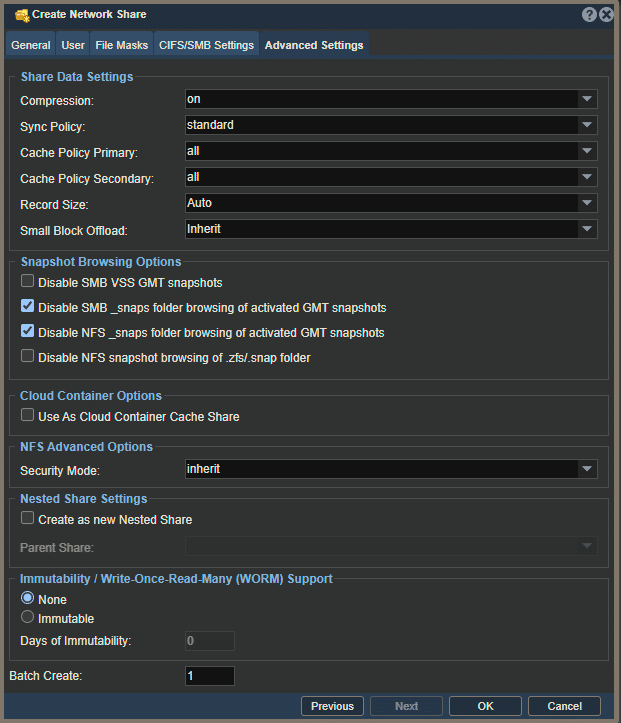
The final step for creating a network share is checking over the advanced settings. We didn’t need to change anything here for our purposes, so these options should be defaults.
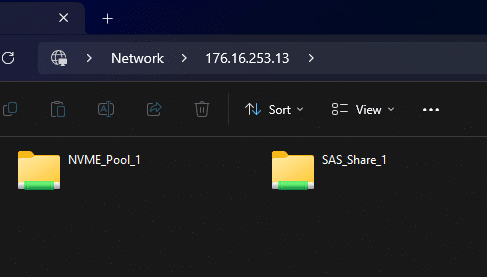
Finally, we were able to enter the IP for our QuantaStor box and access our network shares. If you were following along,
Congratulations! You now have usable storage on your box, but you will probably want to make some security changes to ensure your data is secure…or don’t, run your storage how you please!
Conclusion
Overall, the OSNexus QuantaStor Community Edition license is exciting news for homelab users looking for a software-defined storage solution to run on their own hardware, or more serious users trying to test QuantaStor for potential production use. Since the Community Edition’s only material limitations are support for a max of four servers in a storage grid and 80TB of storage per server, this leaves the possibilities wide open for lots of use cases.
QuantaStor’s management interface is pretty easy to understand, though it does have quite a few options for some parts, but for those who have used solutions such as TrueNAS, or something of the like, it shouldn’t be too intimidating. For almost any question you have about the options, interface, or how to complete a task, OSNexus has a very well-documented wiki at wiki.osnexus.com to guide you through their software.
We’re appreciative that OSNexus has made this available to the homelab community, it’s a great gesture and we hope that such a gesture turns into new customers for the company. If you are interested in trying out QuantaStor, head on over to their website at OSNexus.com to get your free license keys and take it for a spin.
Engage with StorageReview
Newsletter | YouTube | Podcast iTunes/Spotify | Instagram | Twitter | TikTok | RSS Feed